Getting Started with Scribewave
Step 1
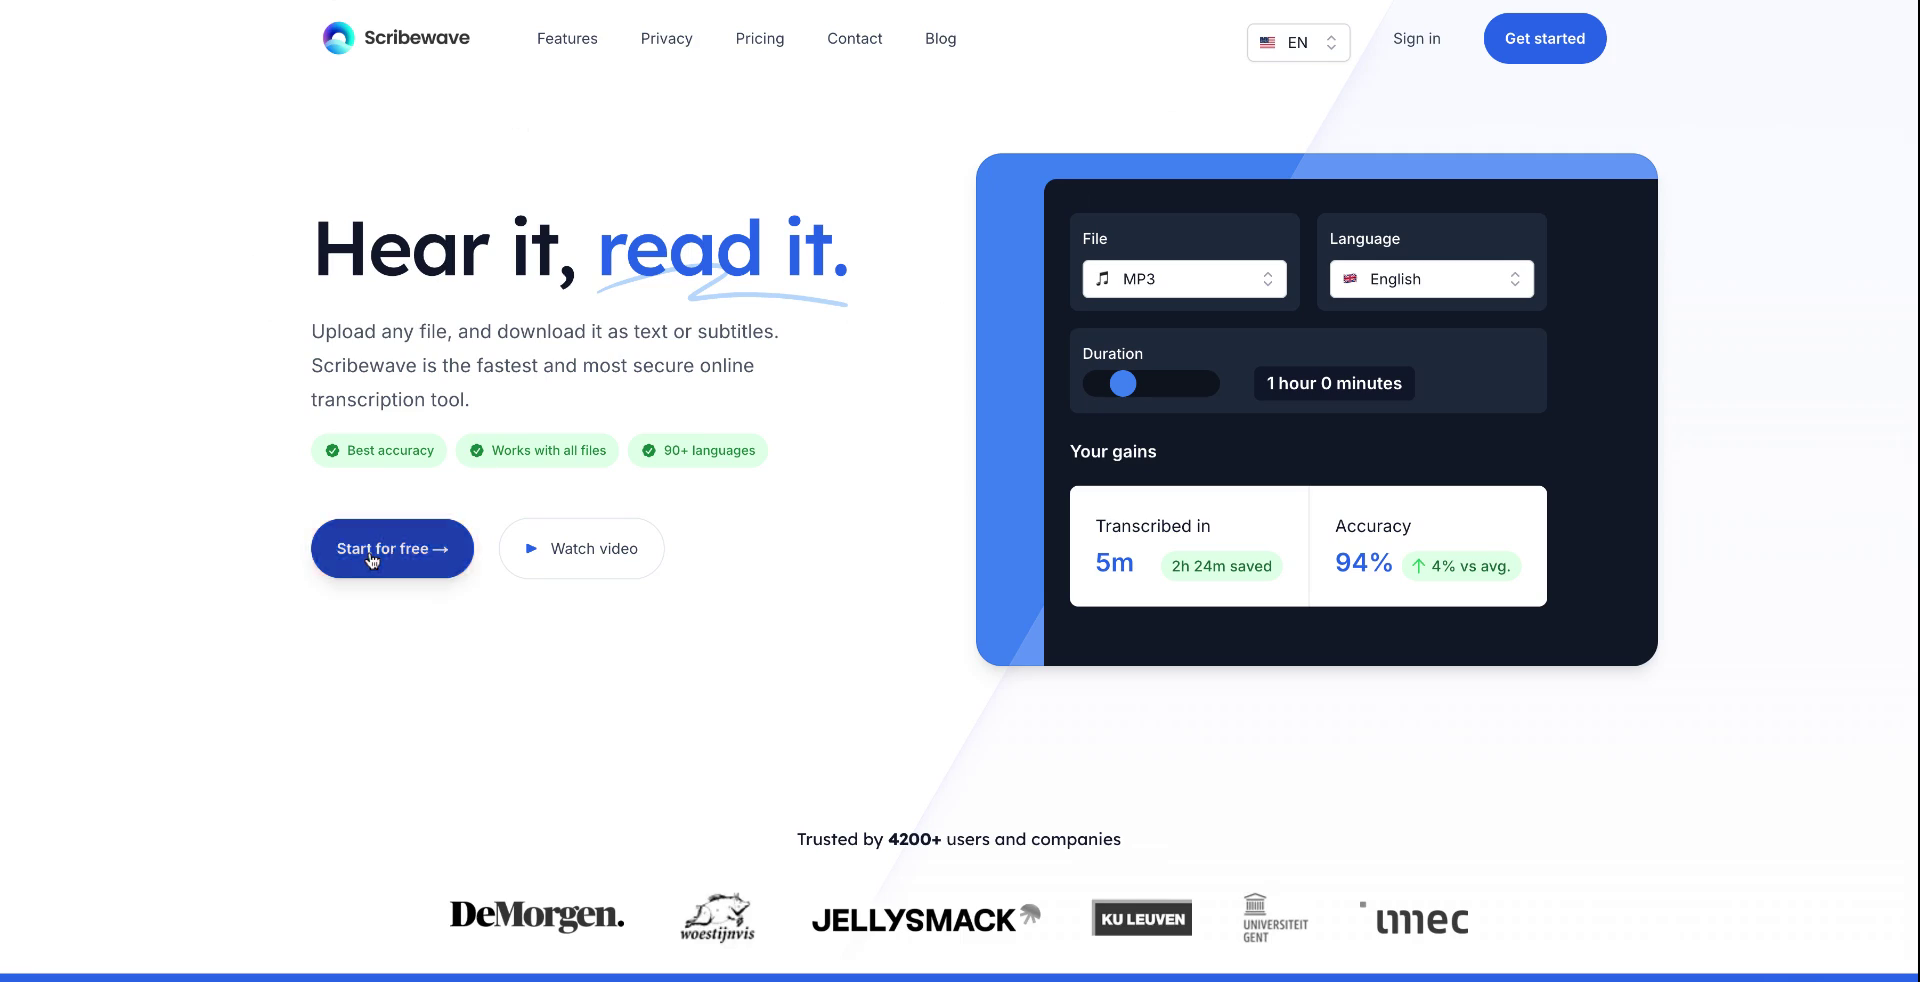
Begin by visiting scribewave.com and clicking on the 'Start for Free' button to start uploading your first file.
 Step 1
Step 2
Log in to your account. If you are already logged in, you can start transcribing your first file immediately for free. There are two methods available for uploading your file. The first method is by dragging and dropping the file into the editor.
 Step 2
Step 3
Drag the file into the editor, where a pop-up will appear, allowing you to begin transcribing the file.
 Step 3
Step 4
Alternatively, you can click on the "Upload" button located in the upper right corner to upload your file.
 Step 4
Step 5
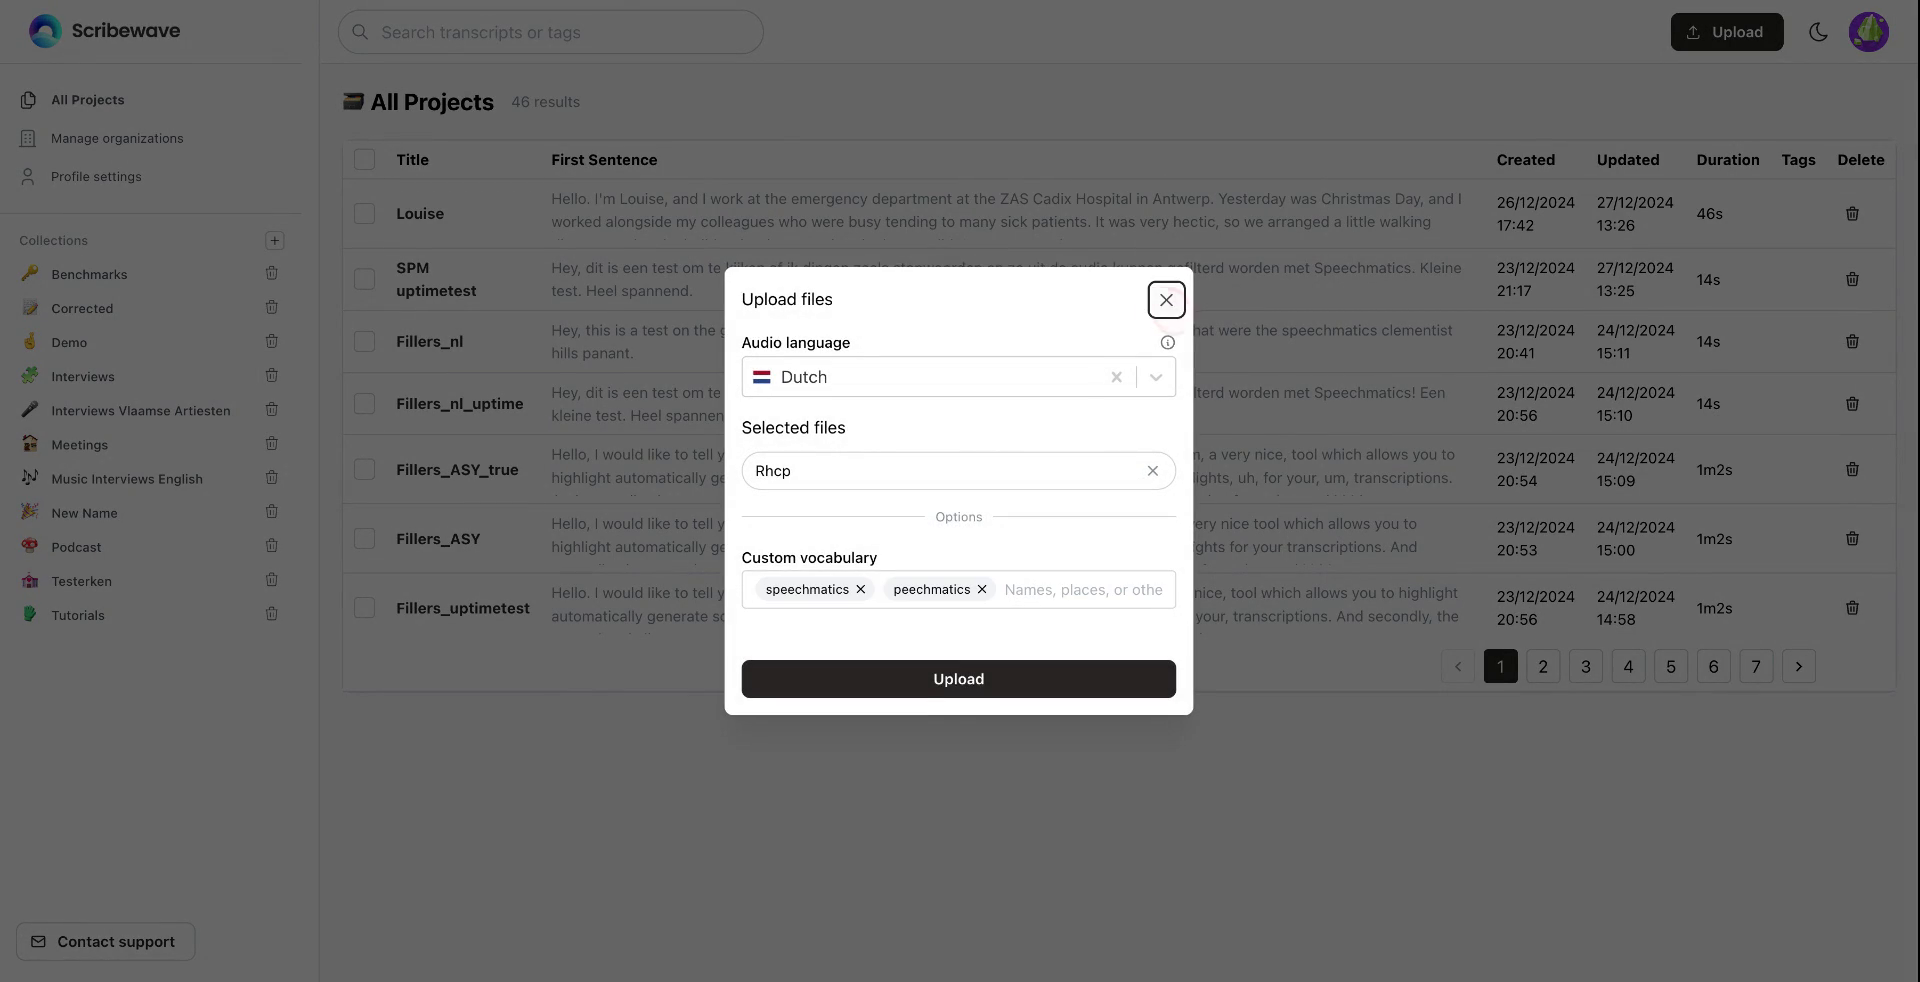
After clicking "Upload," choose the language of your audio file. You will then be presented with further options.
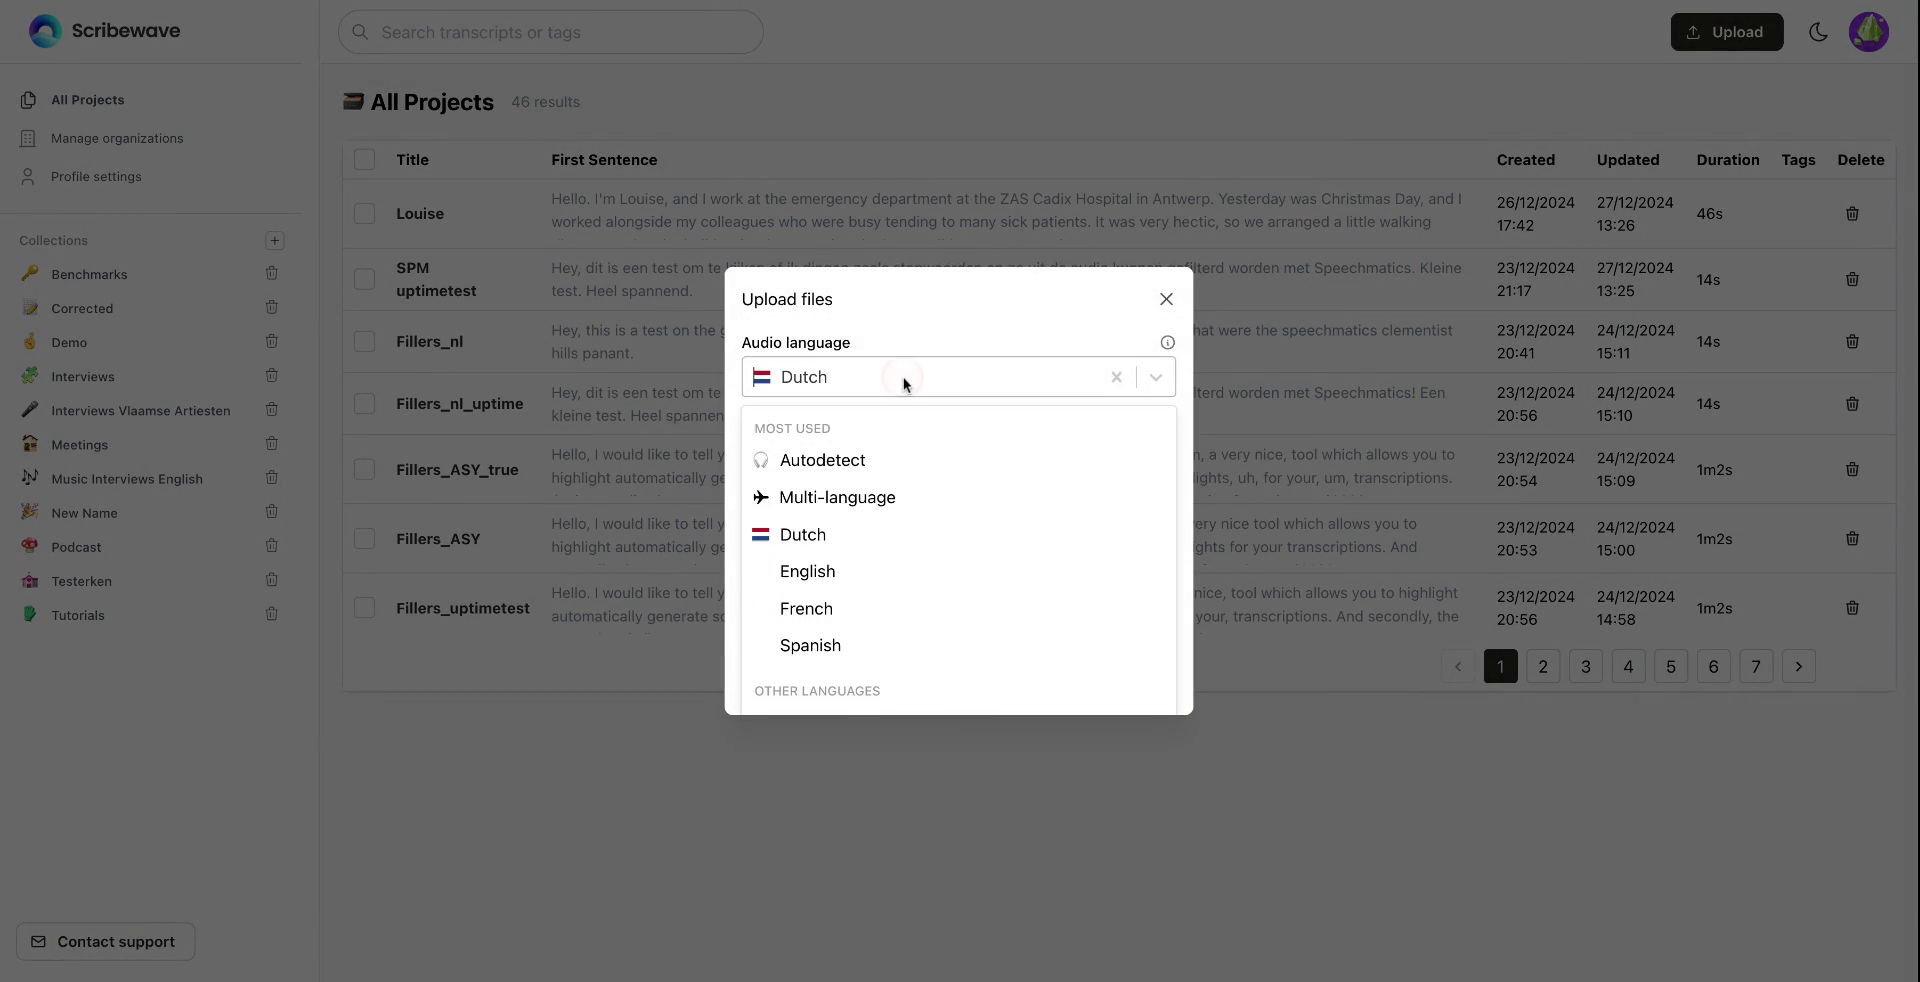 Step 5
Step 6
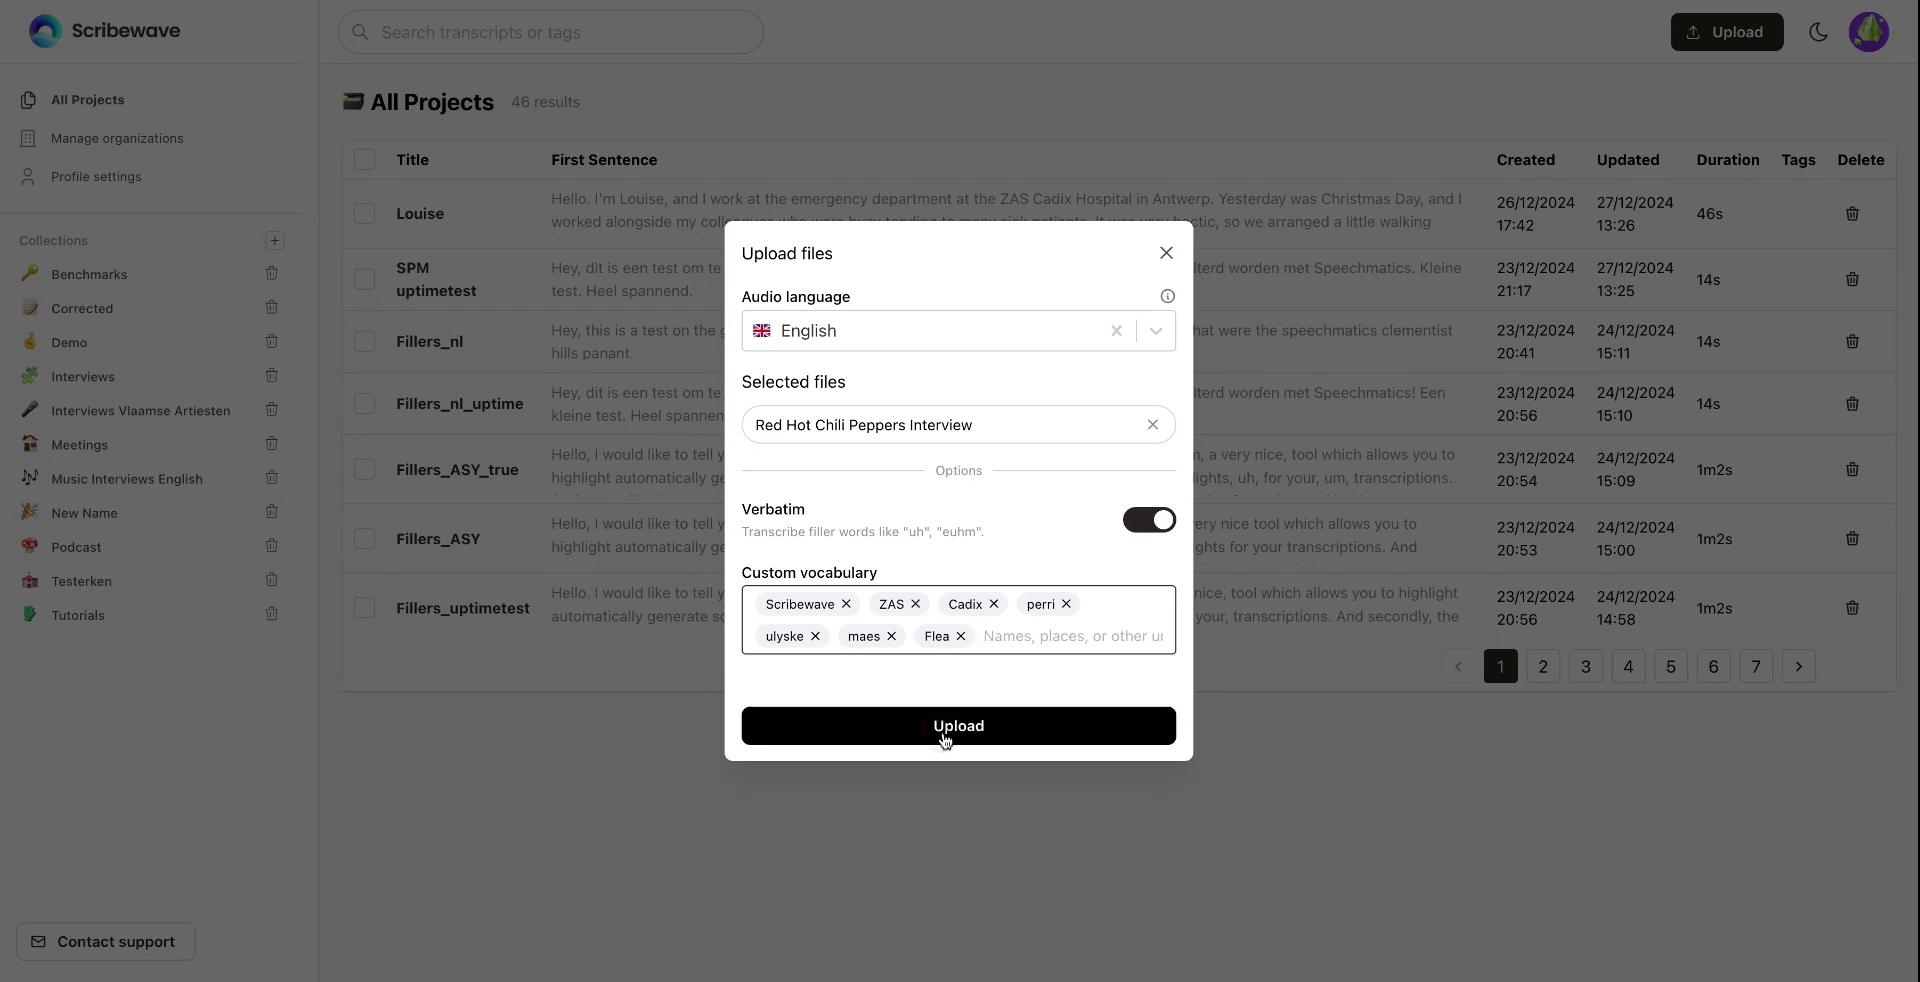
If desired, rename your file, for example, "Red Hot Chili Pepper's Interview." If you wish to transcribe stop words and filler words like "uh" and "um," enable the verbatim mode.
 Step 6
Step 7
Enable verbatim mode if necessary, and add any custom vocabulary to ensure accuracy in the transcription.
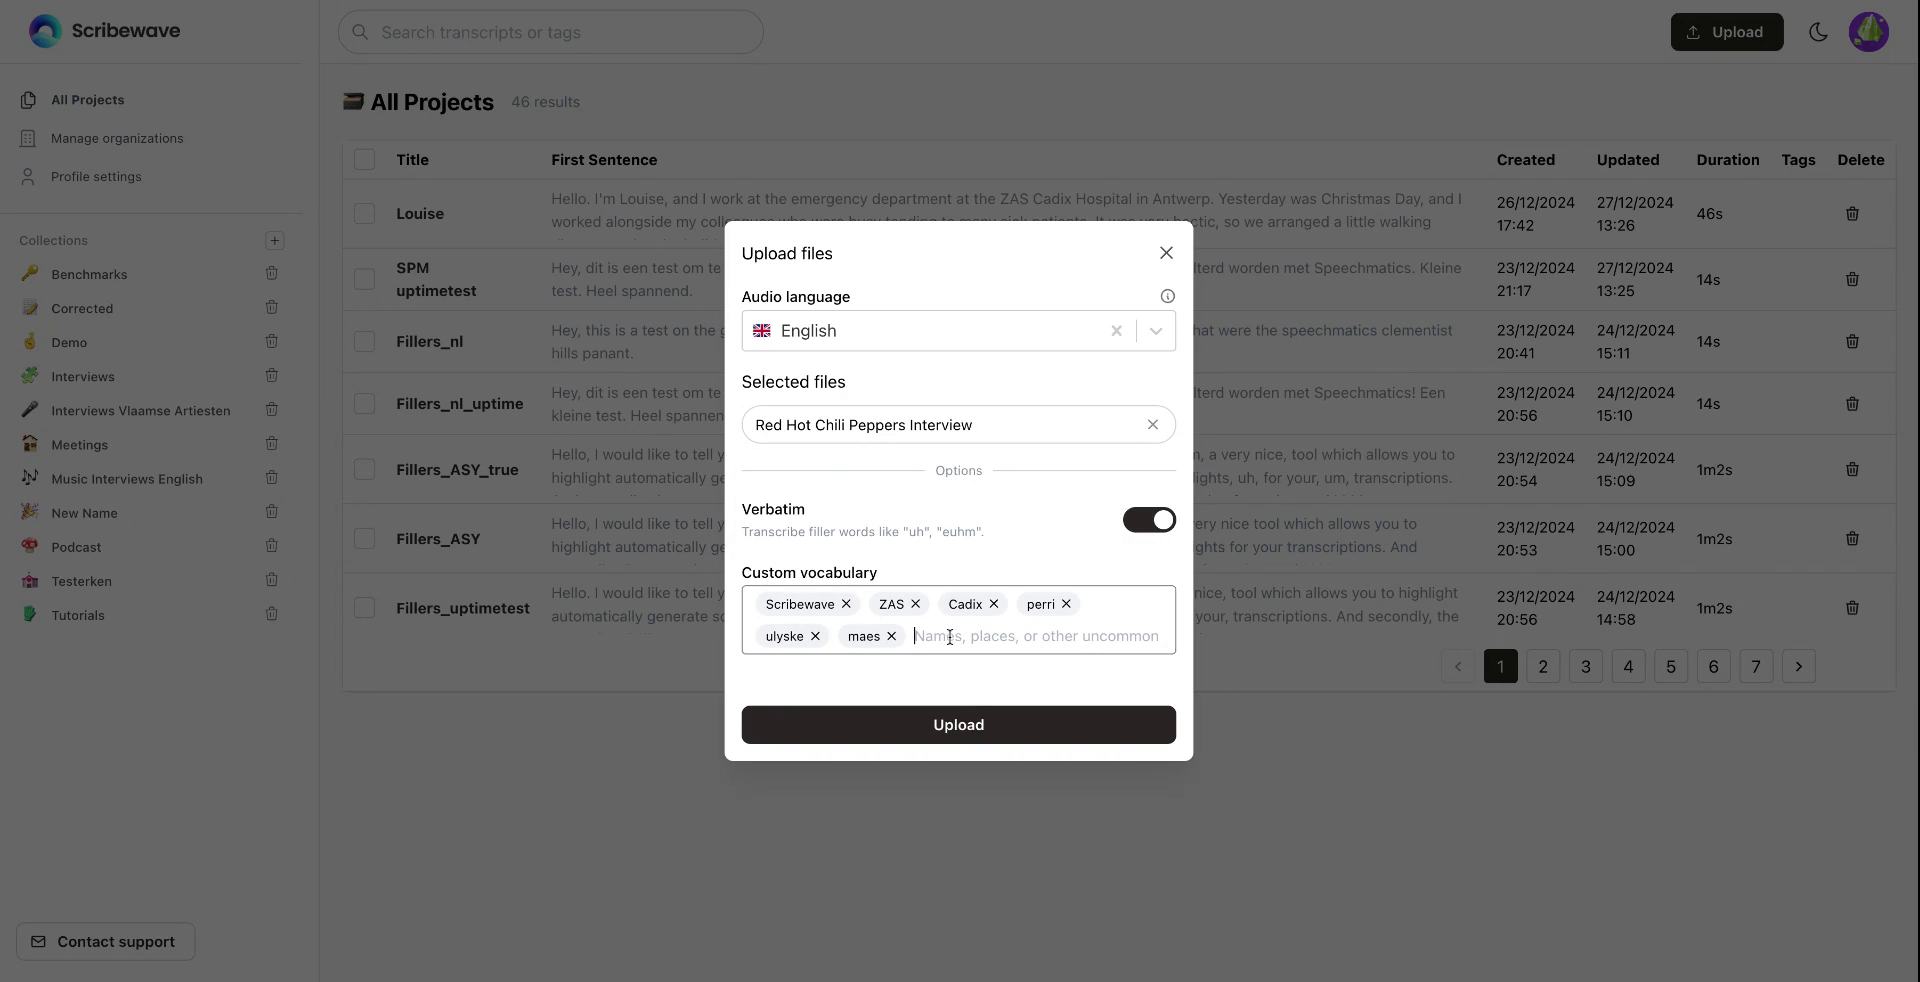 Step 7
Step 8
Incorporate specific terms, such as "Flea," the bass player of the Red Hot Chili Peppers, if they are uncommon, and then click "Upload."
 Step 8
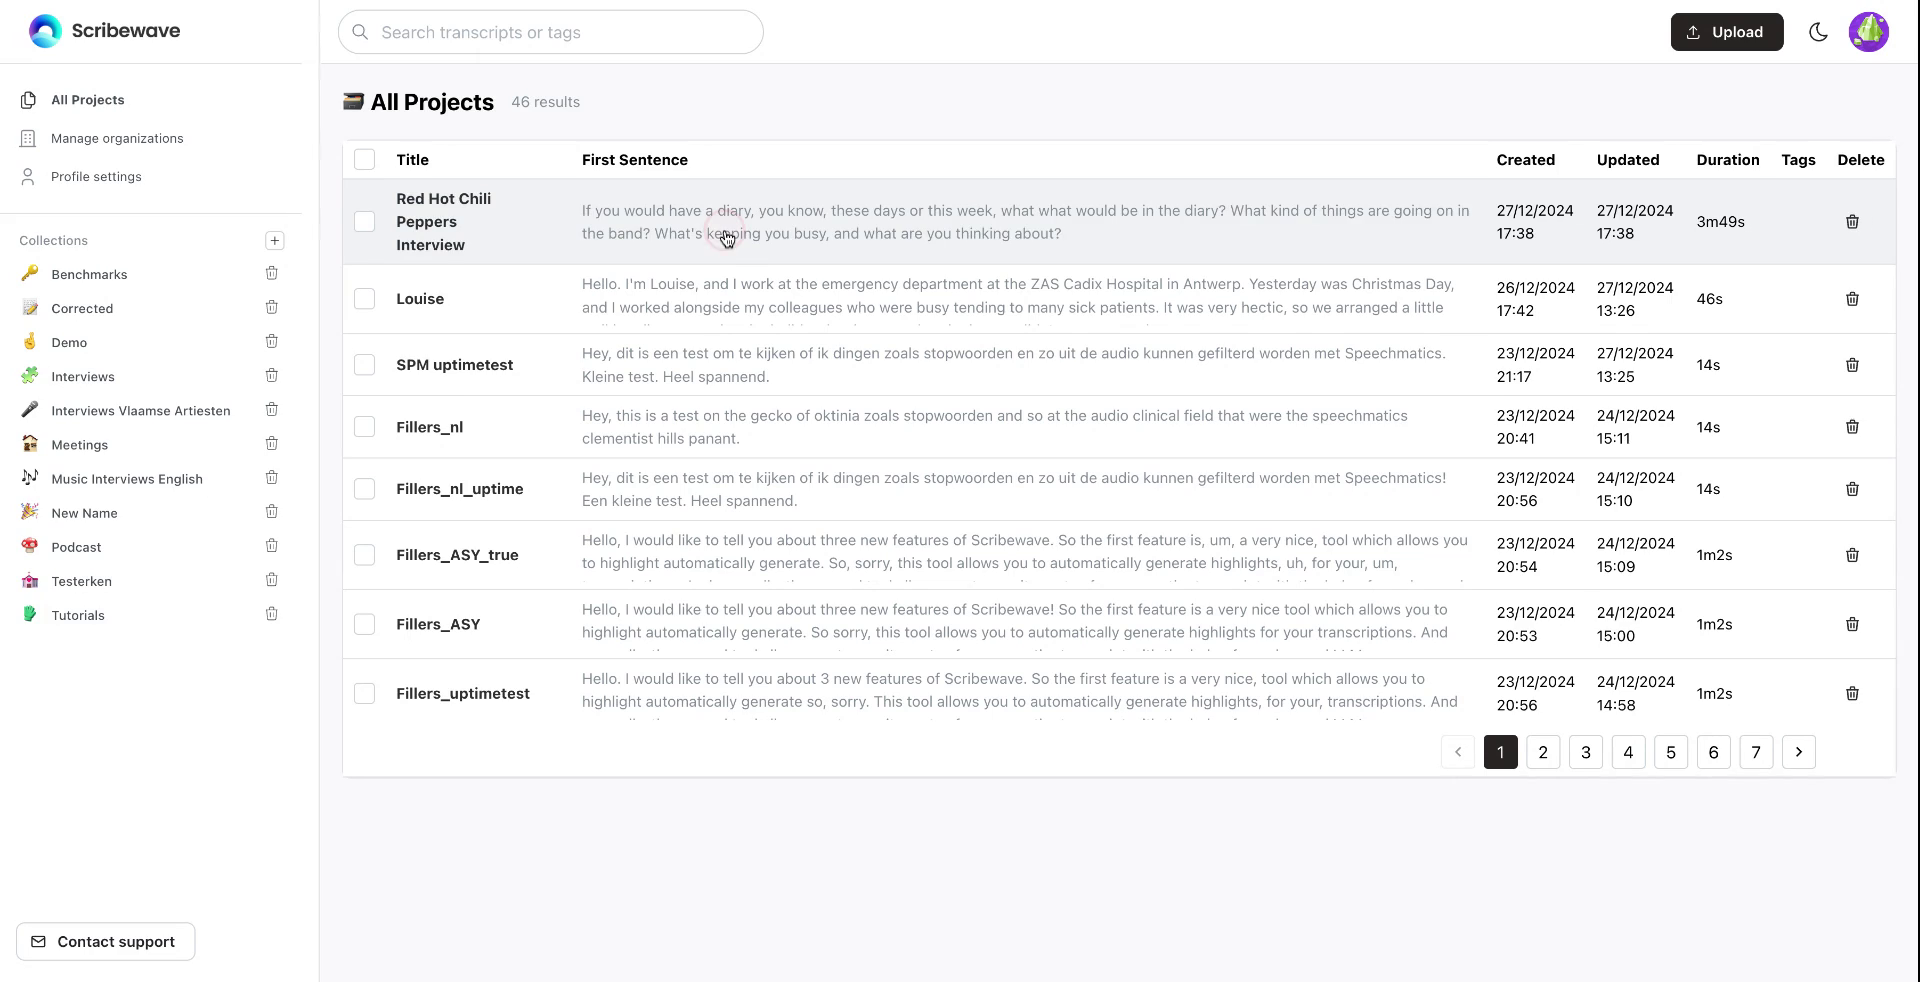
Step 9
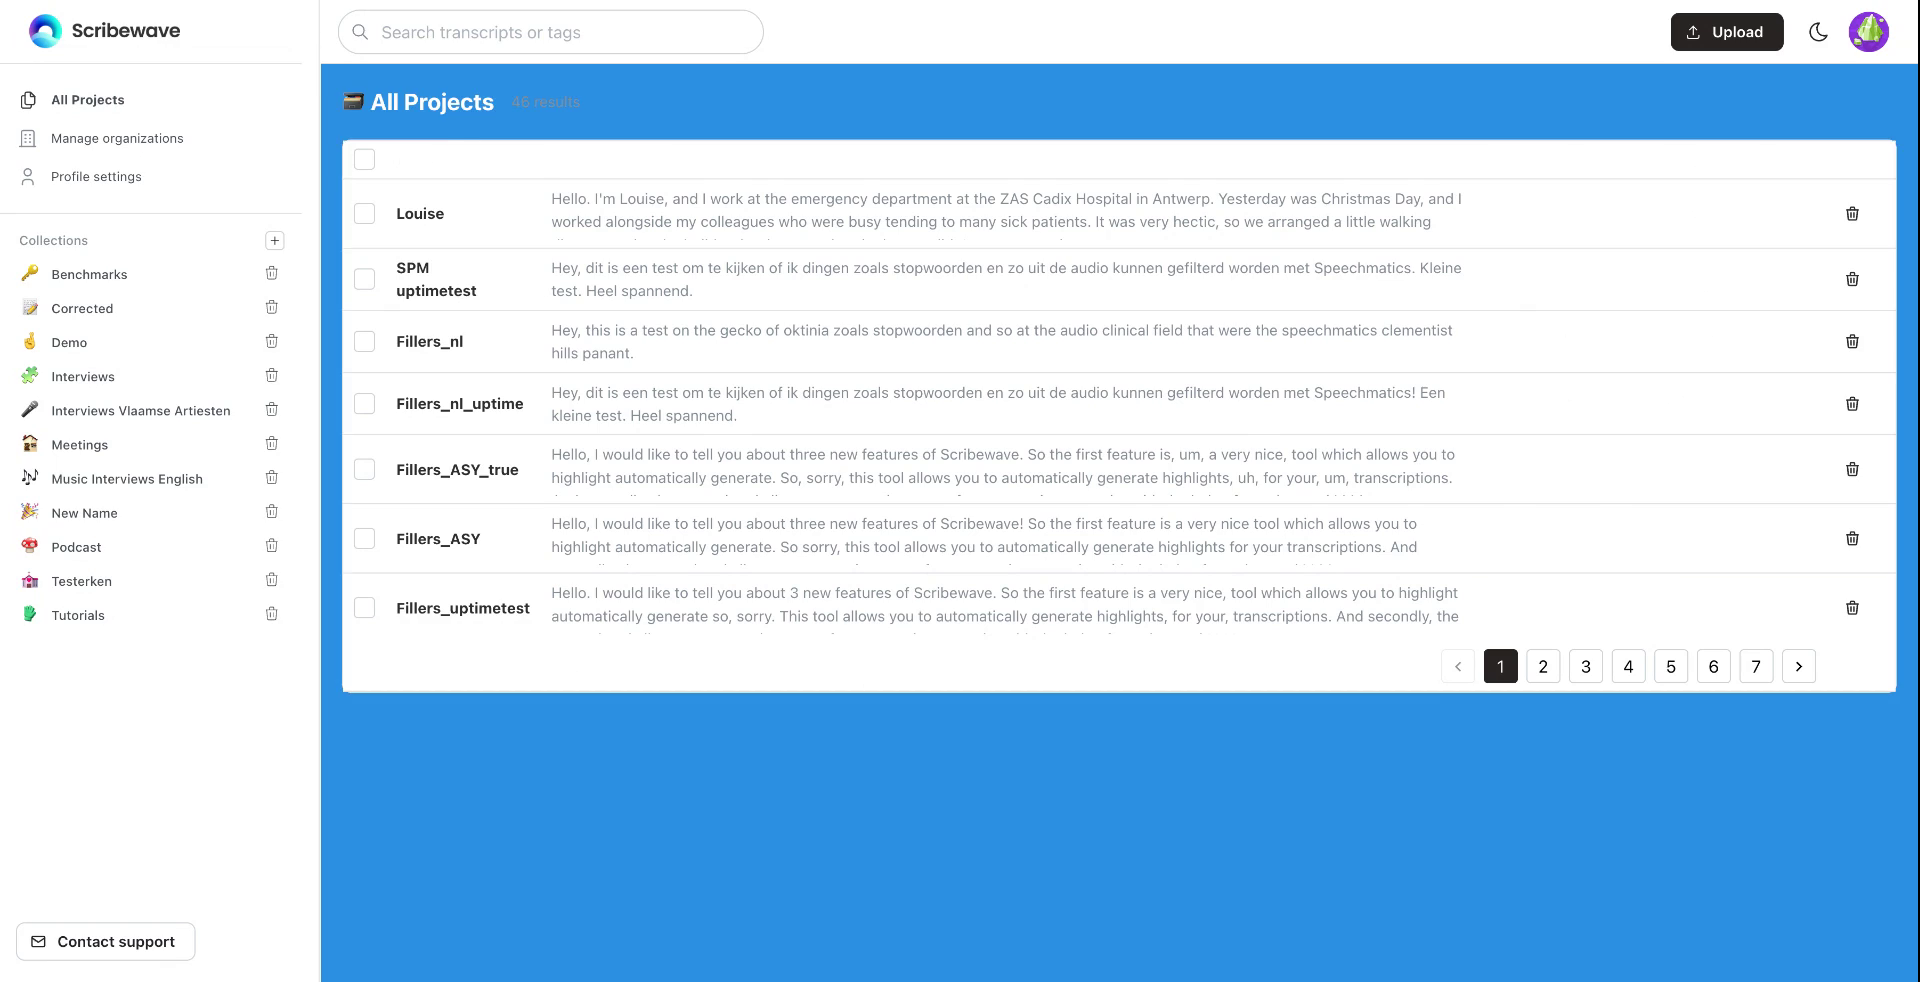
Multiple files can be uploaded simultaneously. The transcript will be processed, usually taking about a minute. Once ready, click on it to edit and listen to the transcript.
 Step 9
Step 10
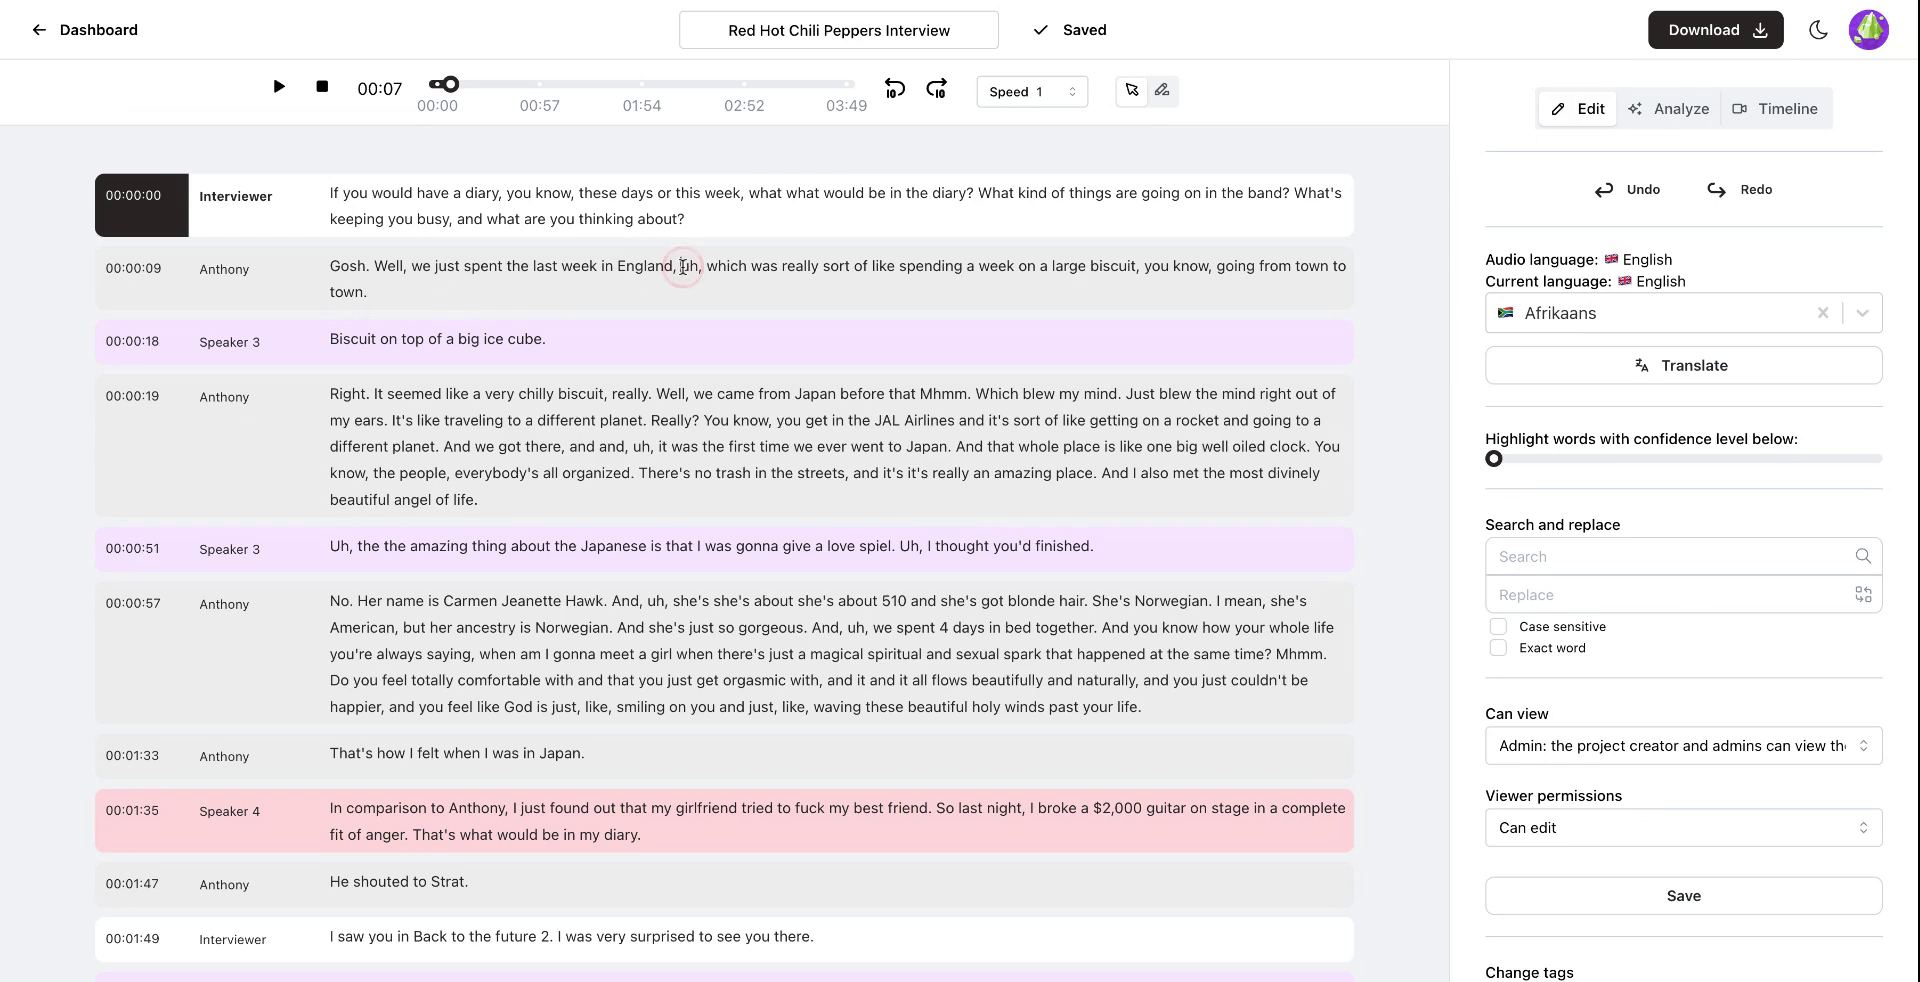
Upon opening the transcript, you'll see different speakers. Click on a speaker's name to change it if needed.
 Step 10
Step 11
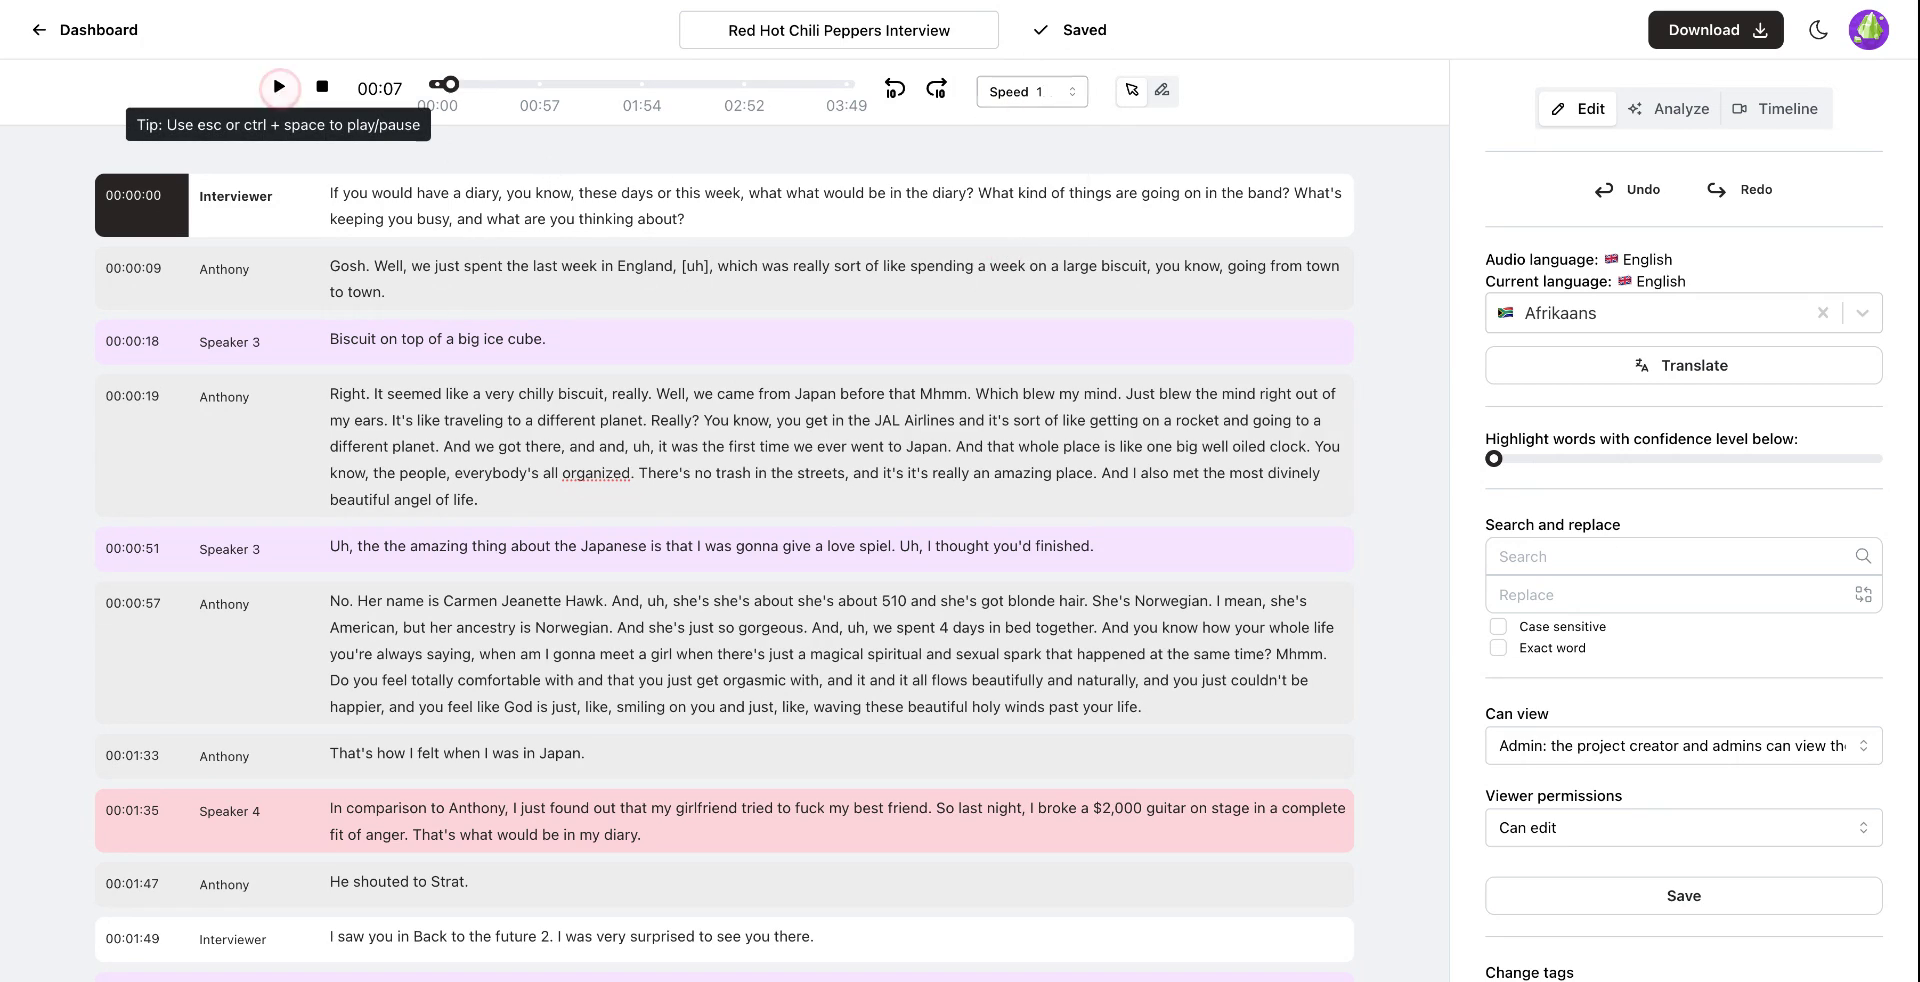
Play the audio to follow along with the transcript.
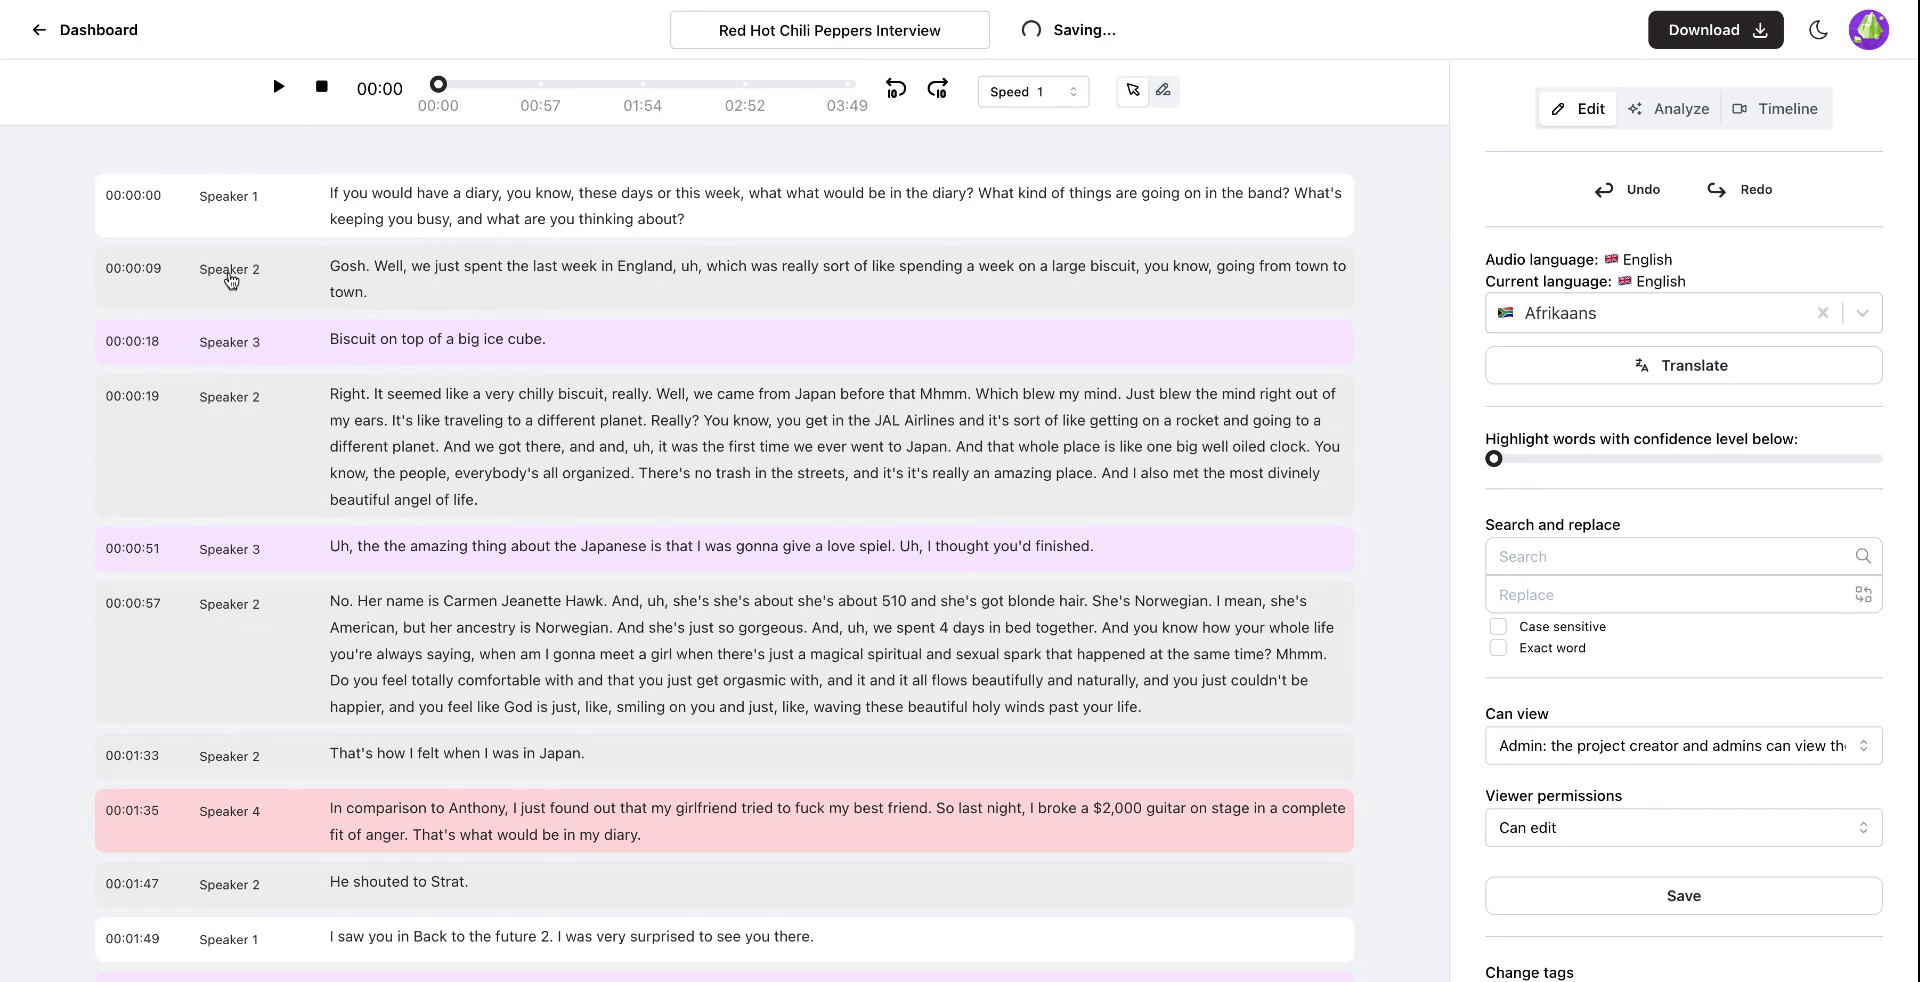 Step 11
Step 12
Make any necessary edits, such as placing filler words like "uh" in brackets.
 Step 12
Step 13
Each word is synchronized with its timestamp. Adjust the playback speed, for example, to 1.4x, to review the transcript efficiently.
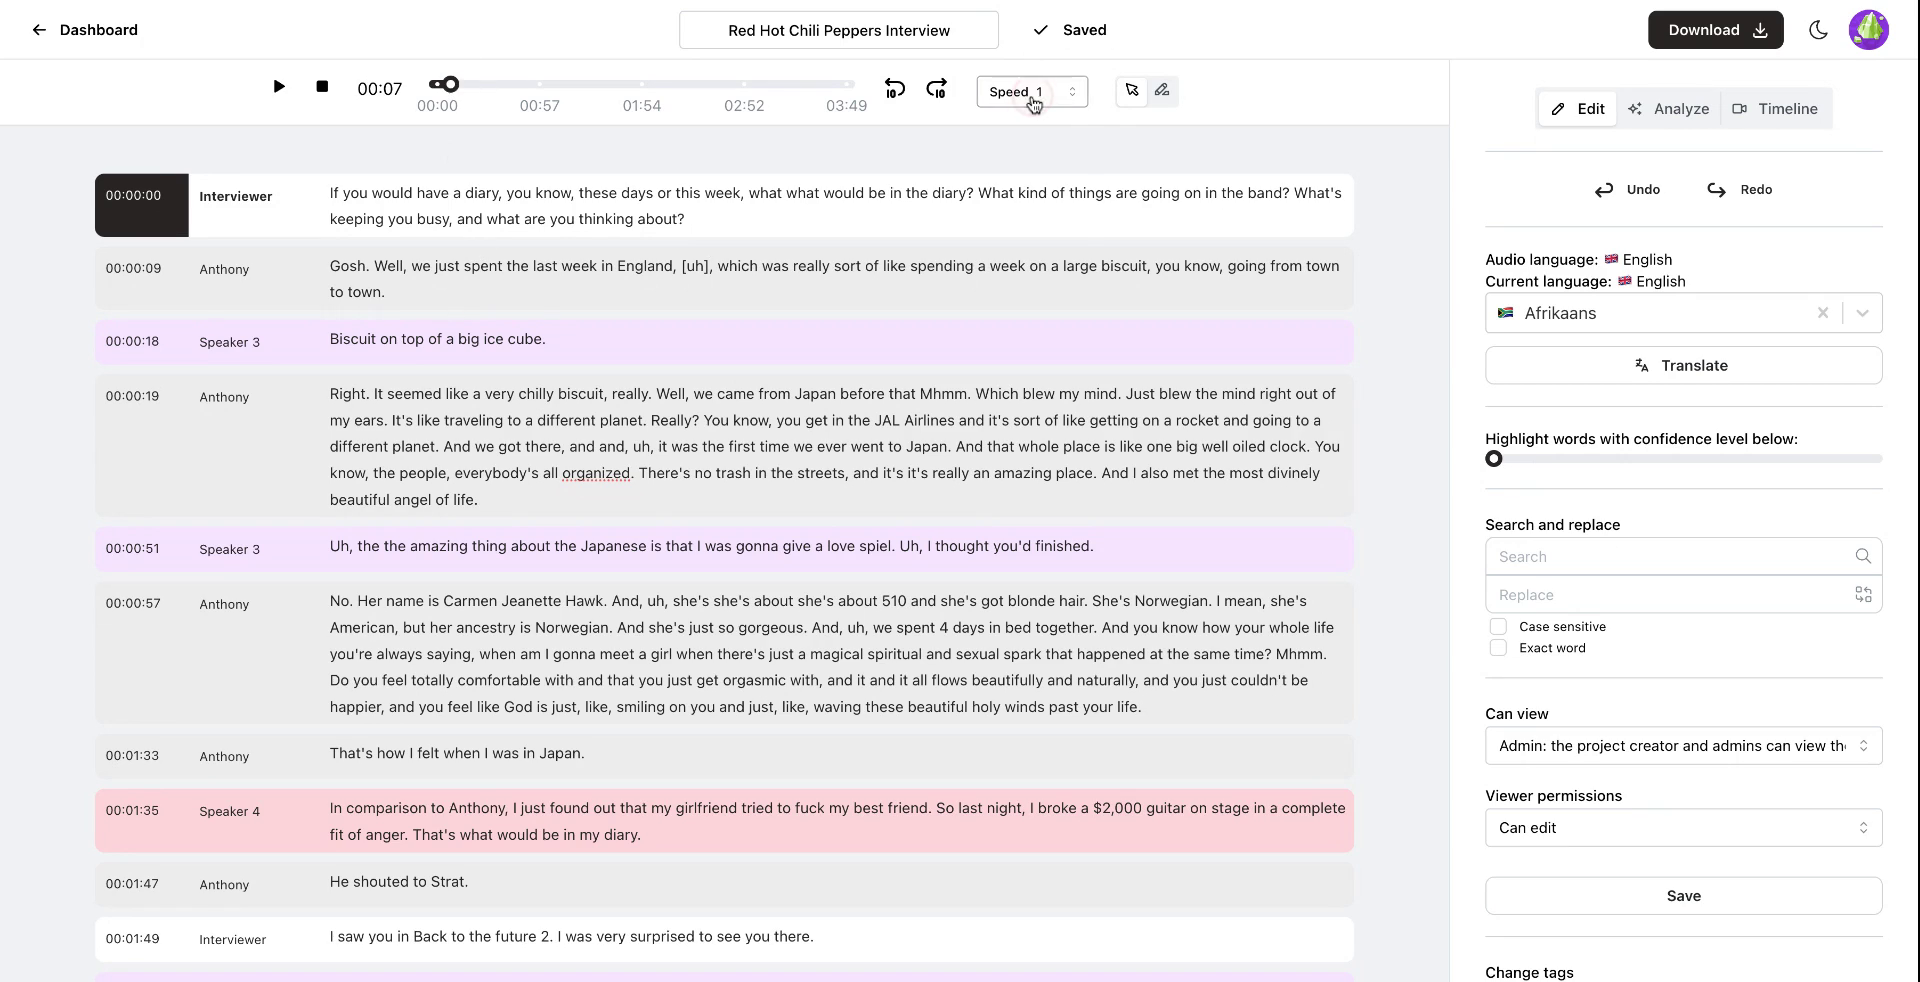 Step 13
Step 14
Quickly navigate through the transcript to ensure everything is accurate.
 Step 14
Step 15
As the player advances to a new paragraph, the editor will automatically scroll to the corresponding section. The editor remains in sync even if you scroll manually.
 Step 15
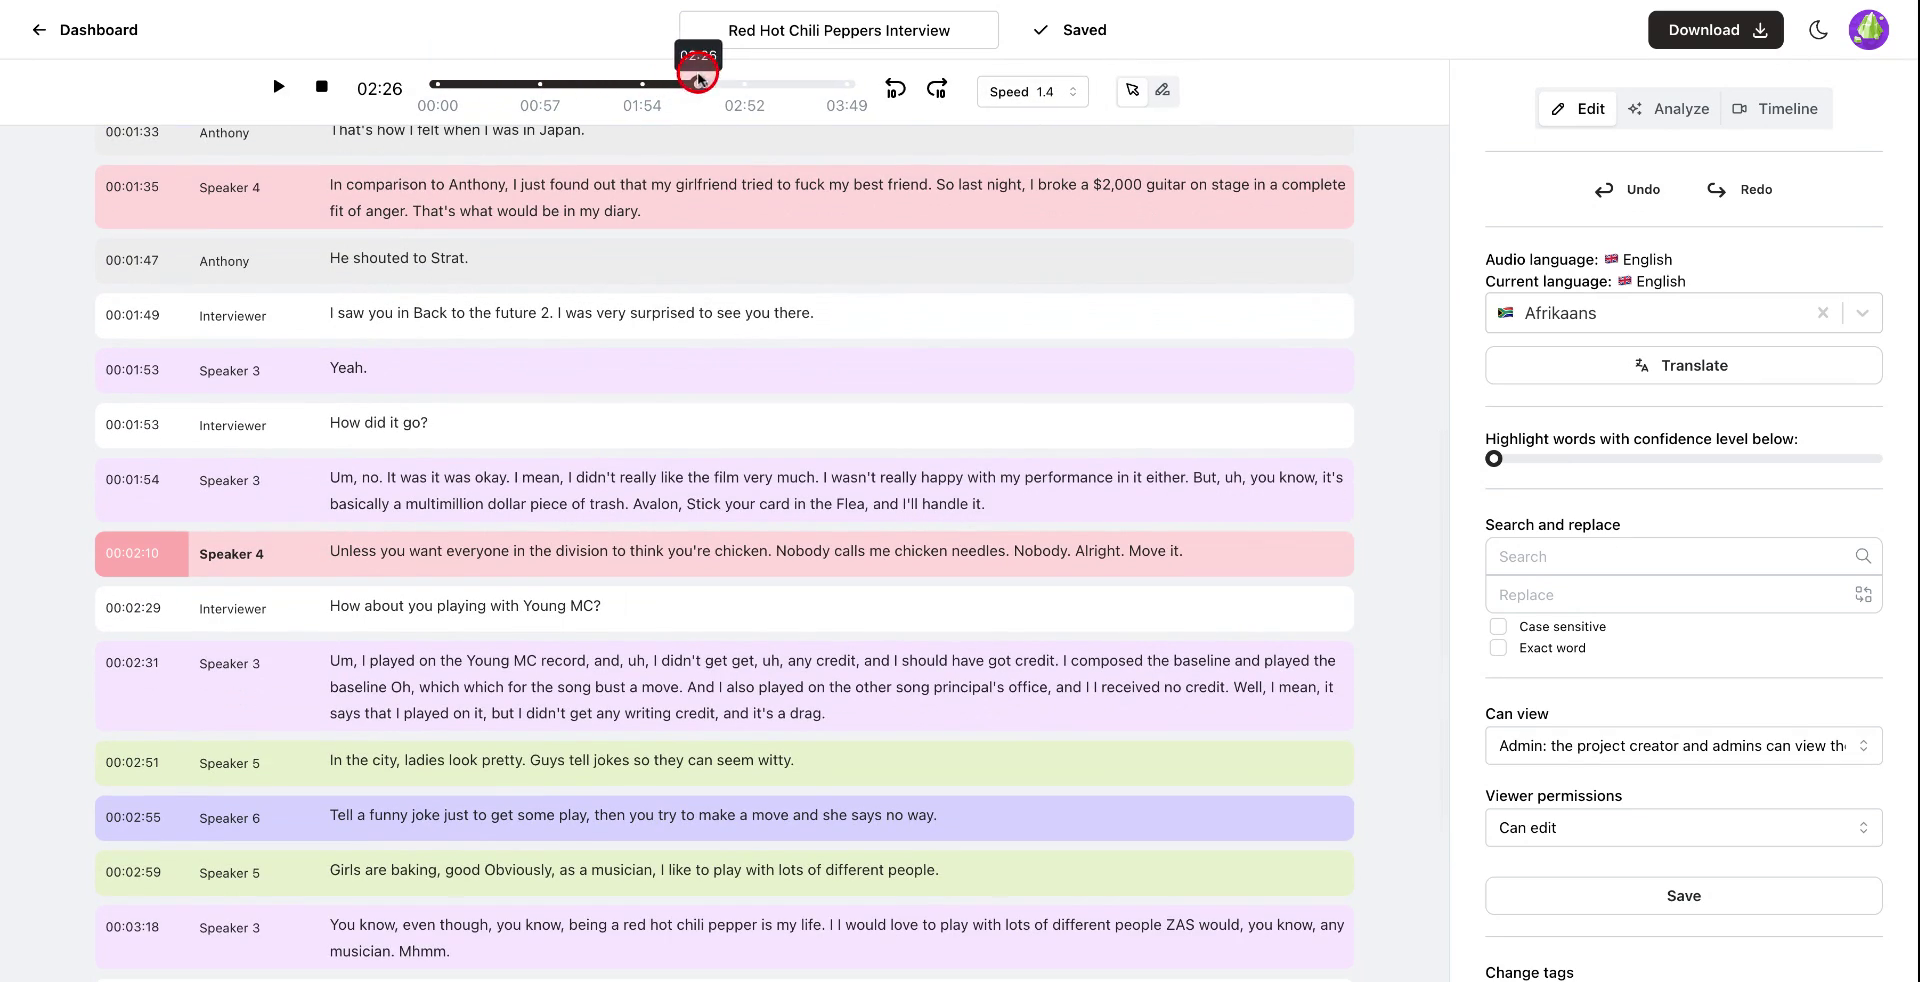
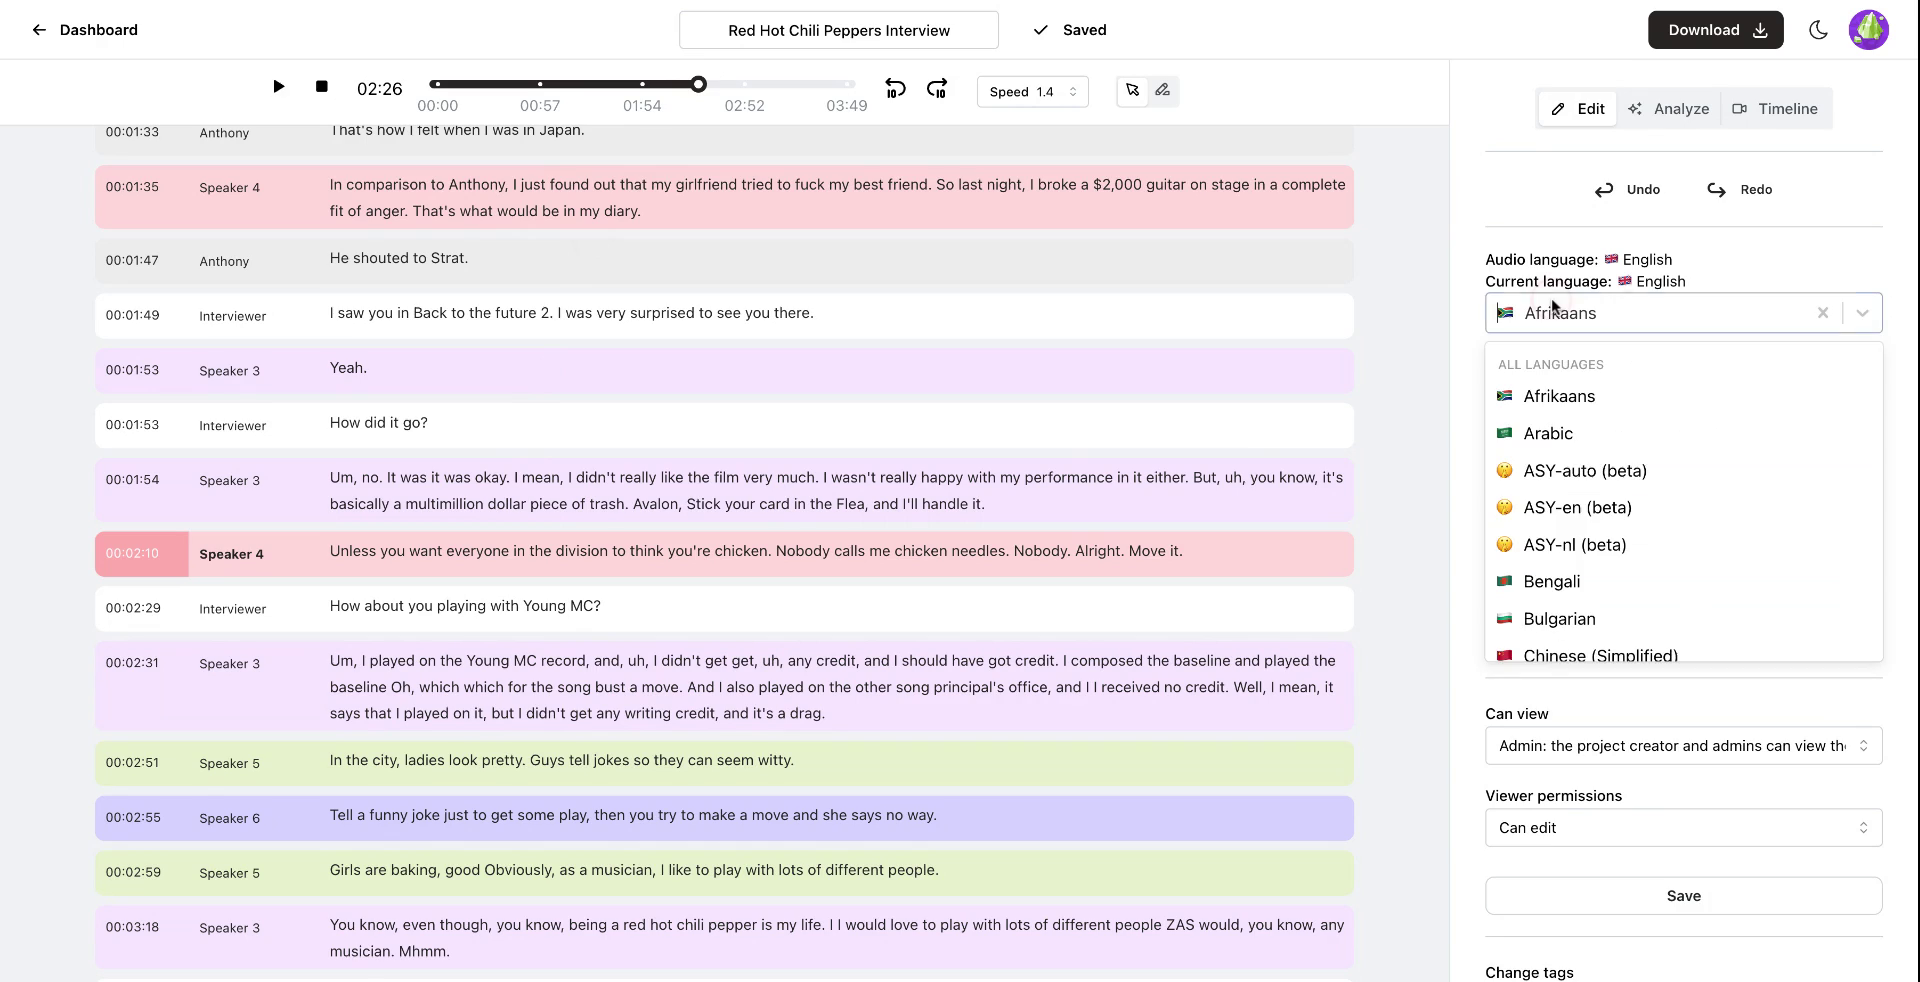
Step 16
Explore additional features such as translating different languages within the transcript.
 Step 16
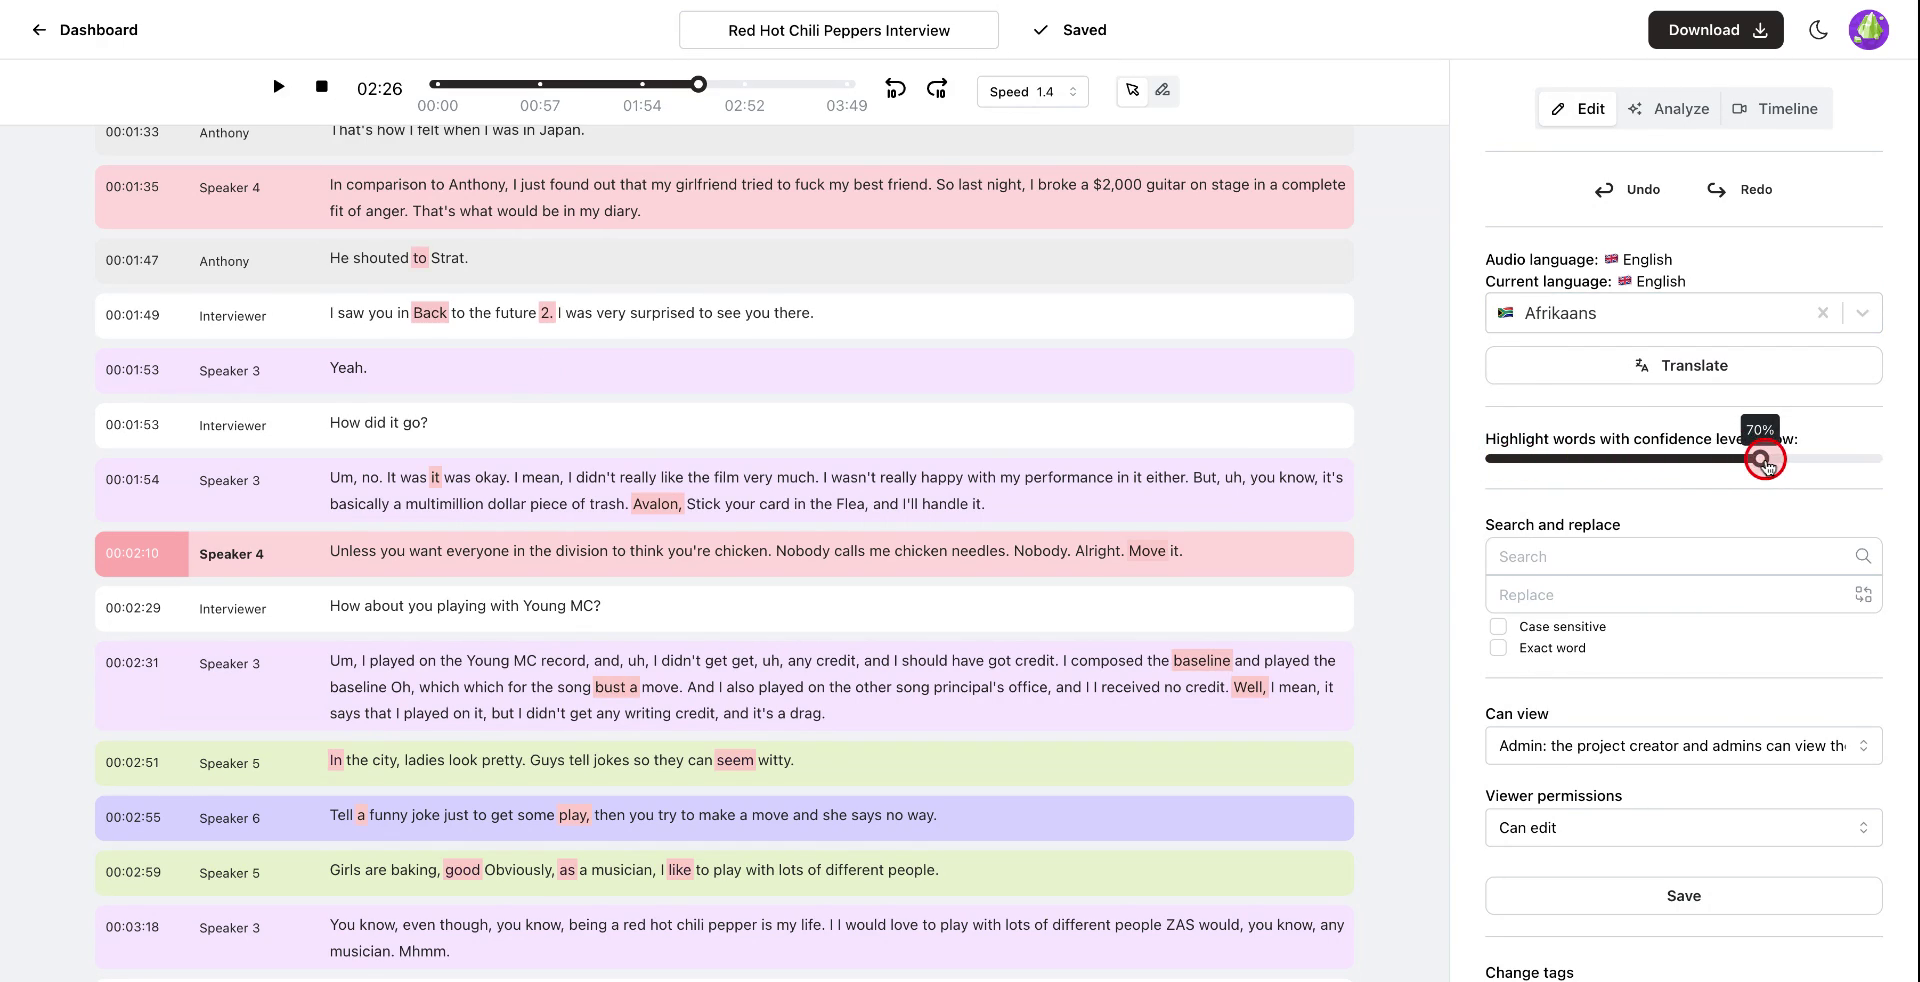
Step 17
Highlight words based on a confidence level. For example, setting it to 60% will highlight words with low confidence, allowing you to make corrections as needed.
 Step 17
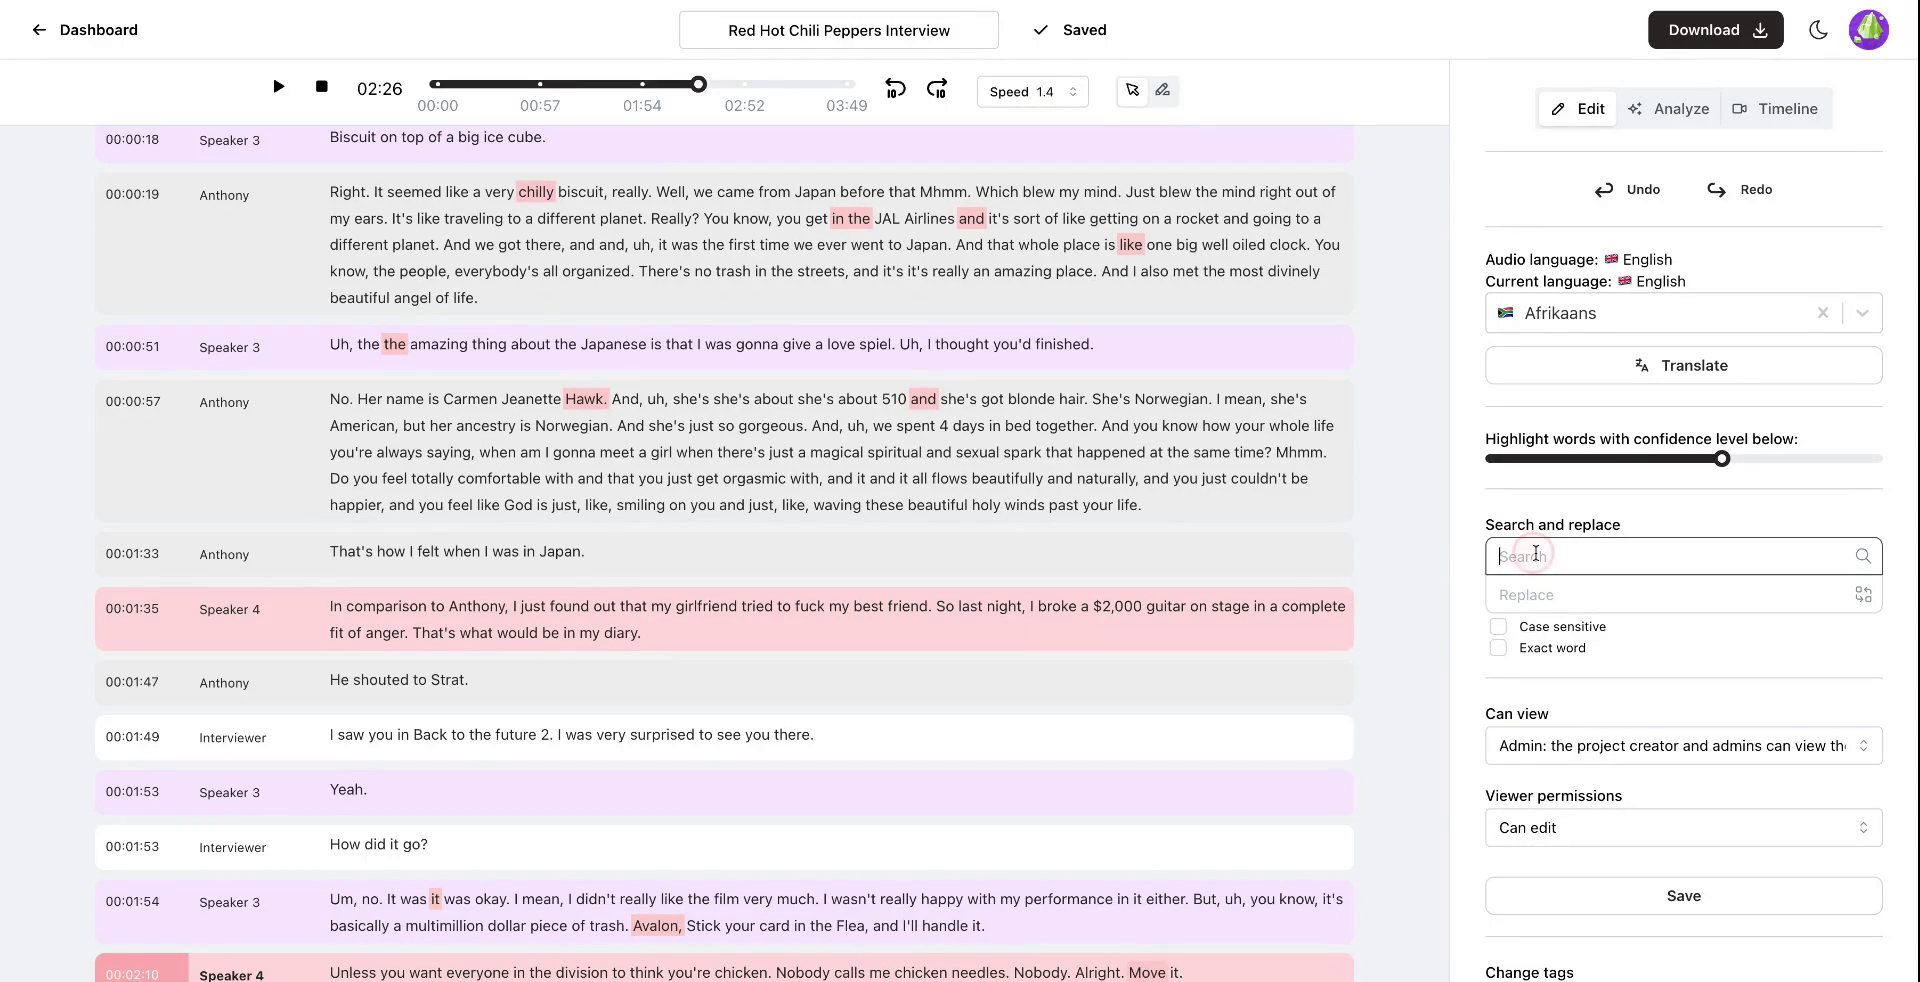
Step 18
Utilize the search and replace feature to efficiently correct consistently mis-transcribed words.
 Step 18
Step 19
These are the key features of the edit tab. The analyze tab also offers interactive AI options, such as engaging with your transcript.
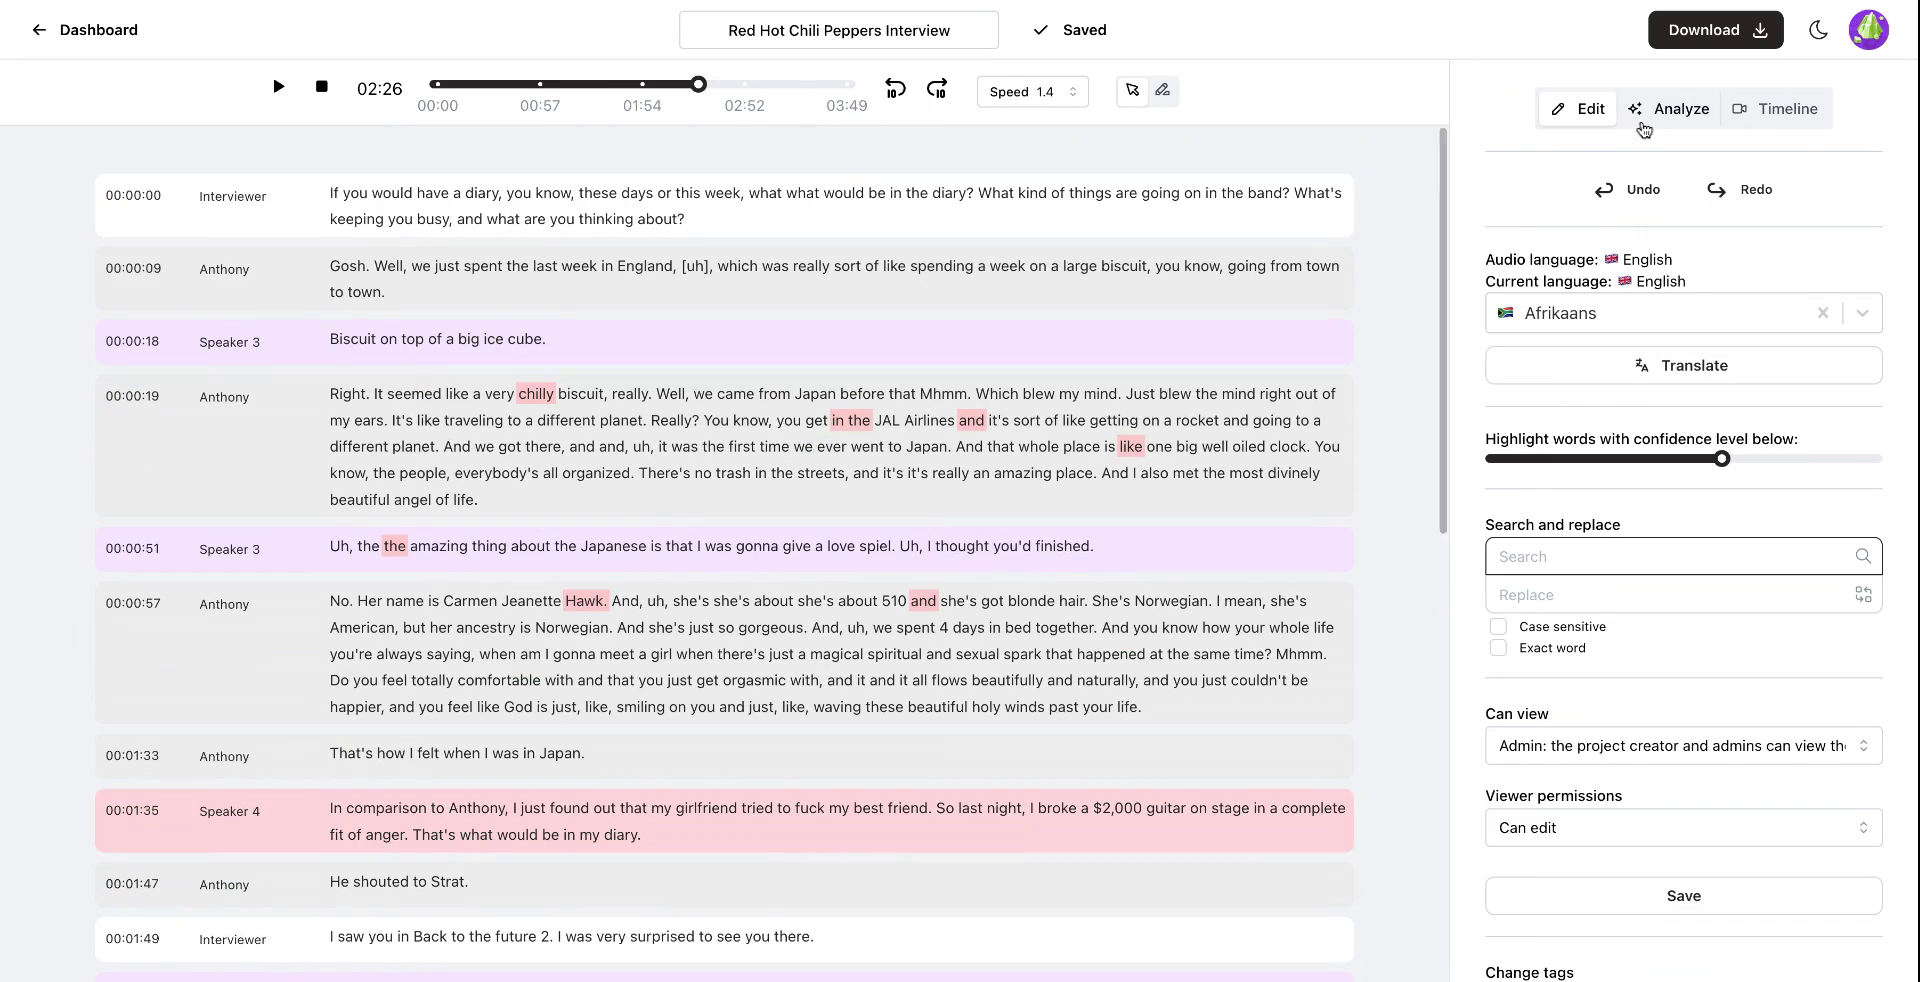 Step 19
Step 20
Use the analyze tab to request summaries or sentiment analysis of the transcription. You can also request chapter creation or ask specific questions like "Which countries are mentioned in the transcript?"
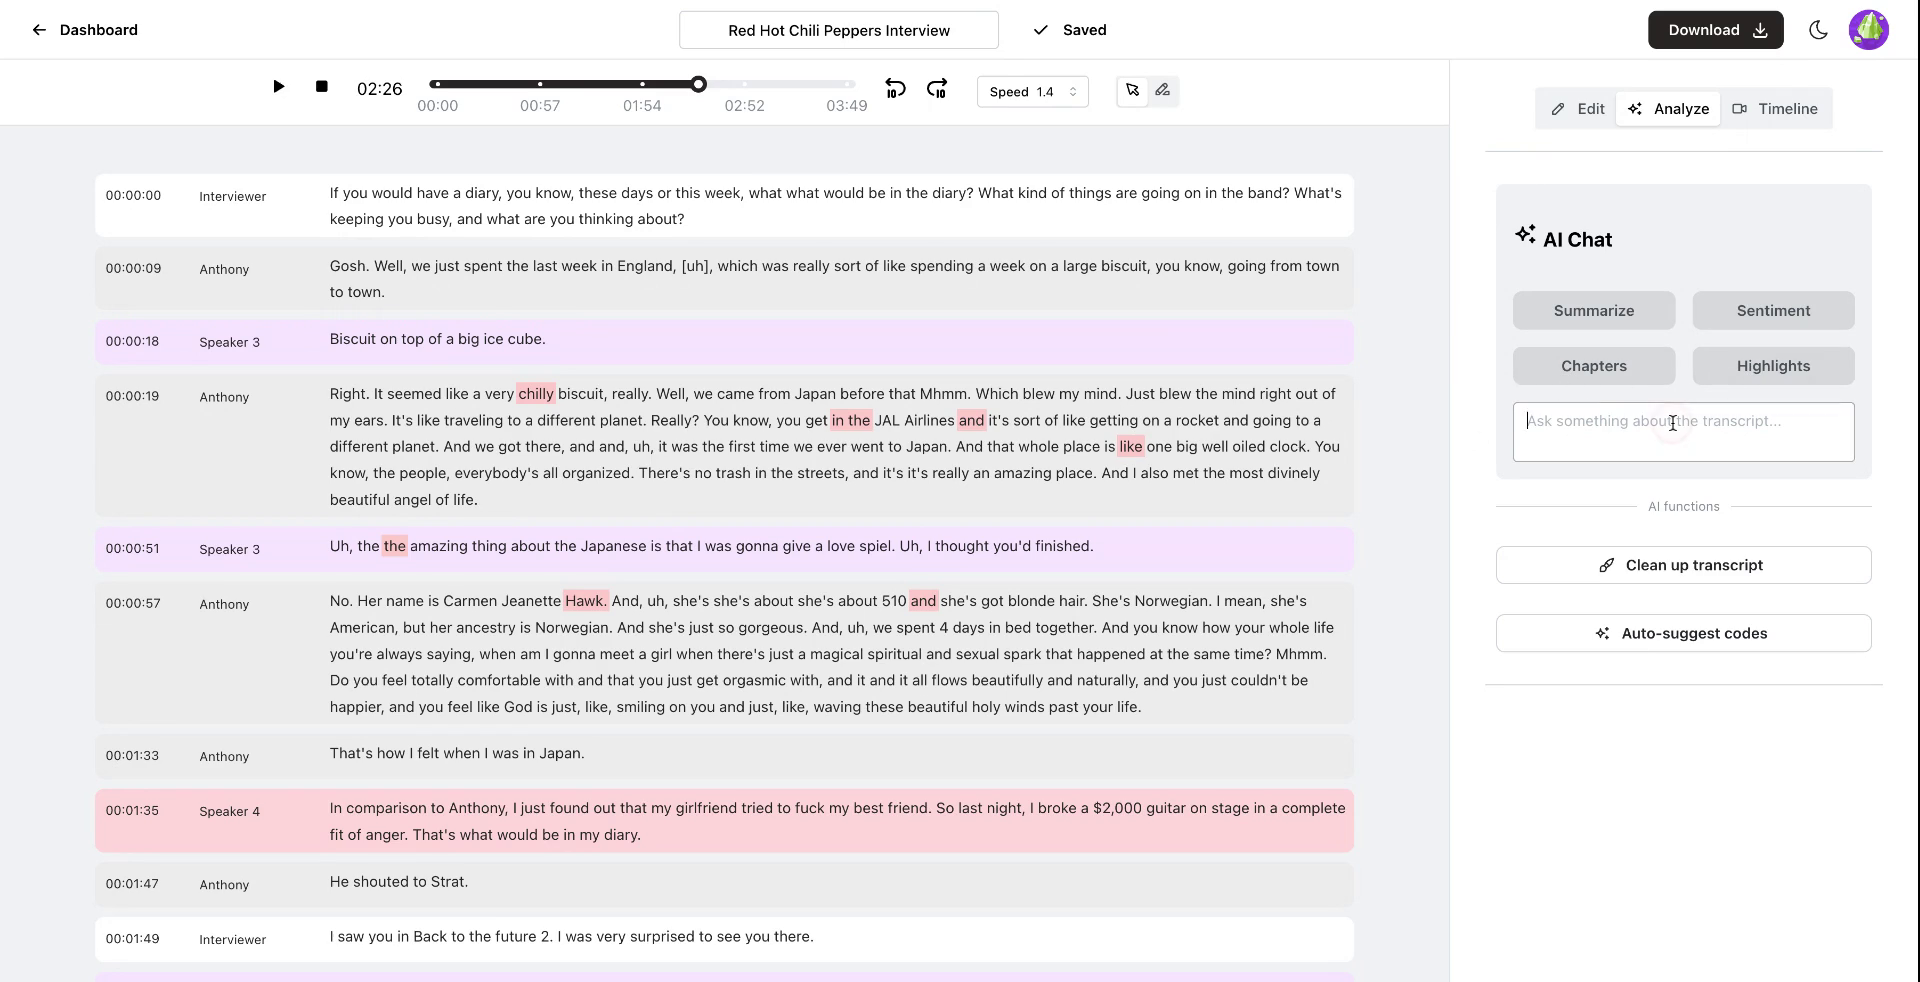 Step 20
Step 21
Upon inquiry, the system accurately identifies mentioned countries, like England and Japan. You can also generate a cleaned-up version of the transcript or auto-suggest codes for thematic analysis.
 Step 21
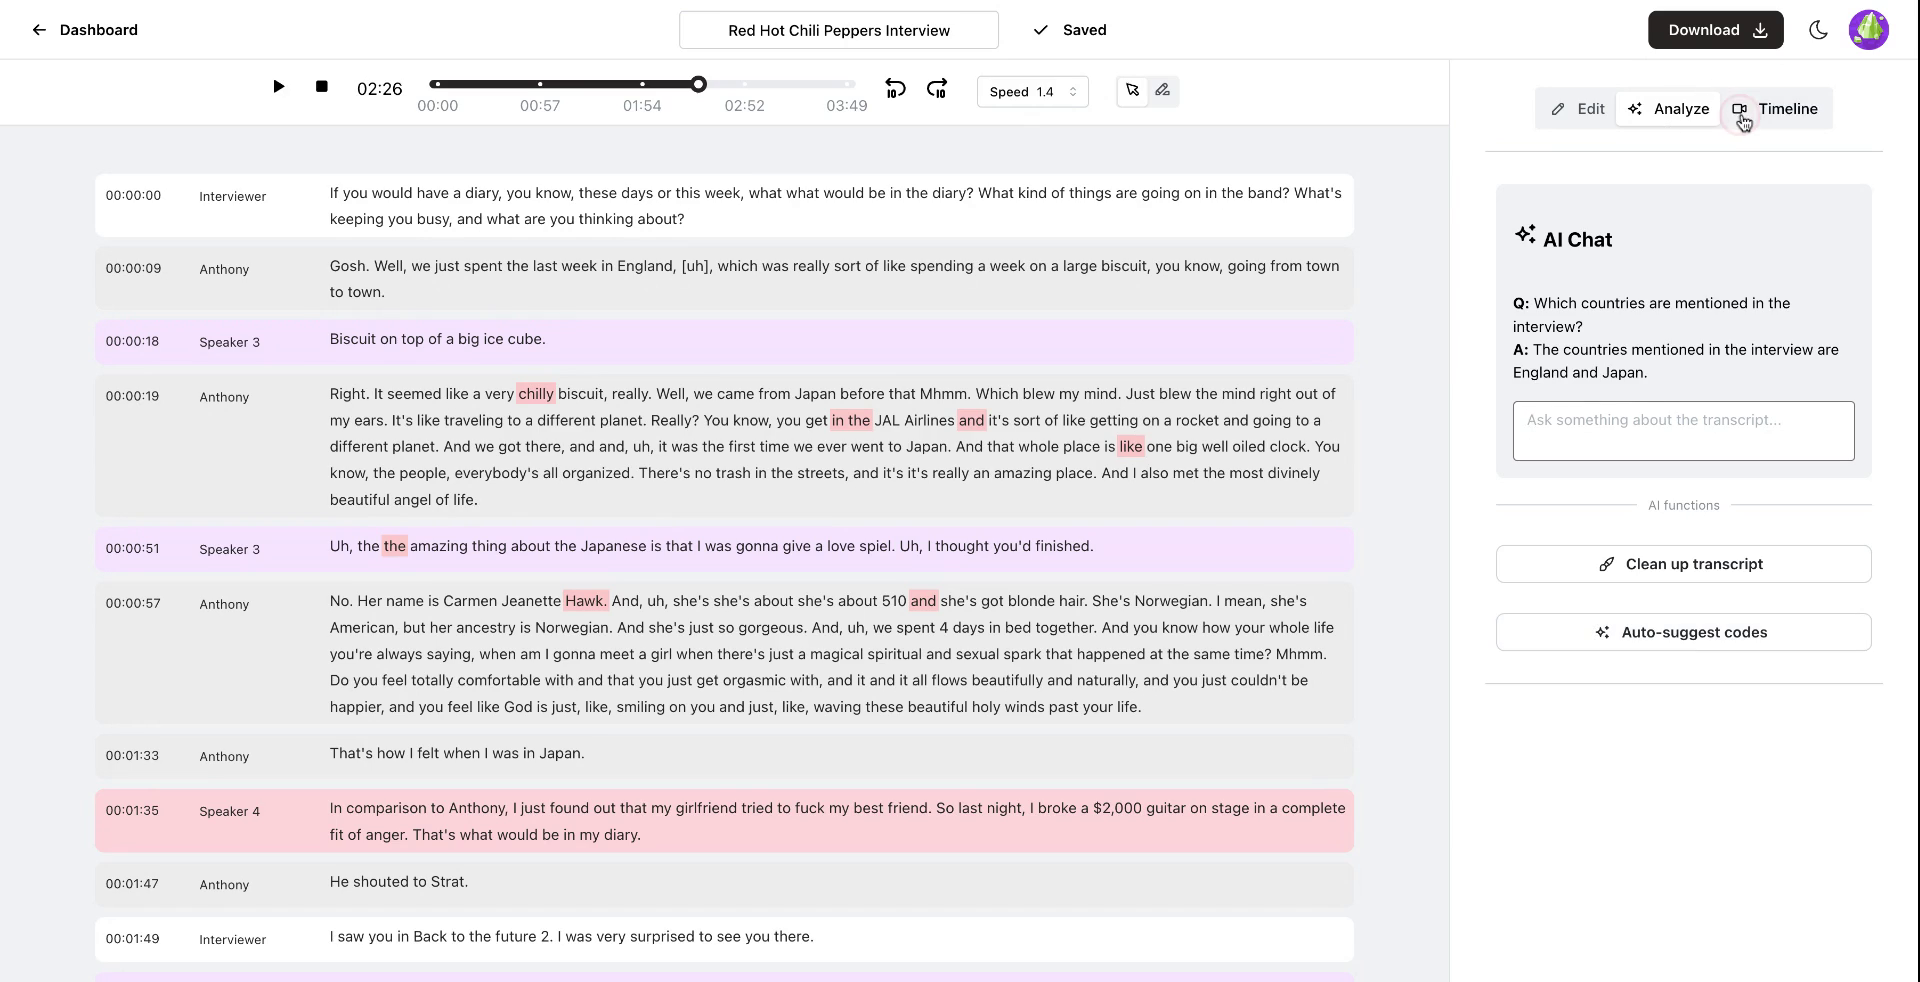
Step 22
The third tab, the timeline tab, allows you to create an interactive video from your audio file.
 Step 22
Step 23
Customize the video to match your branding by editing colors.
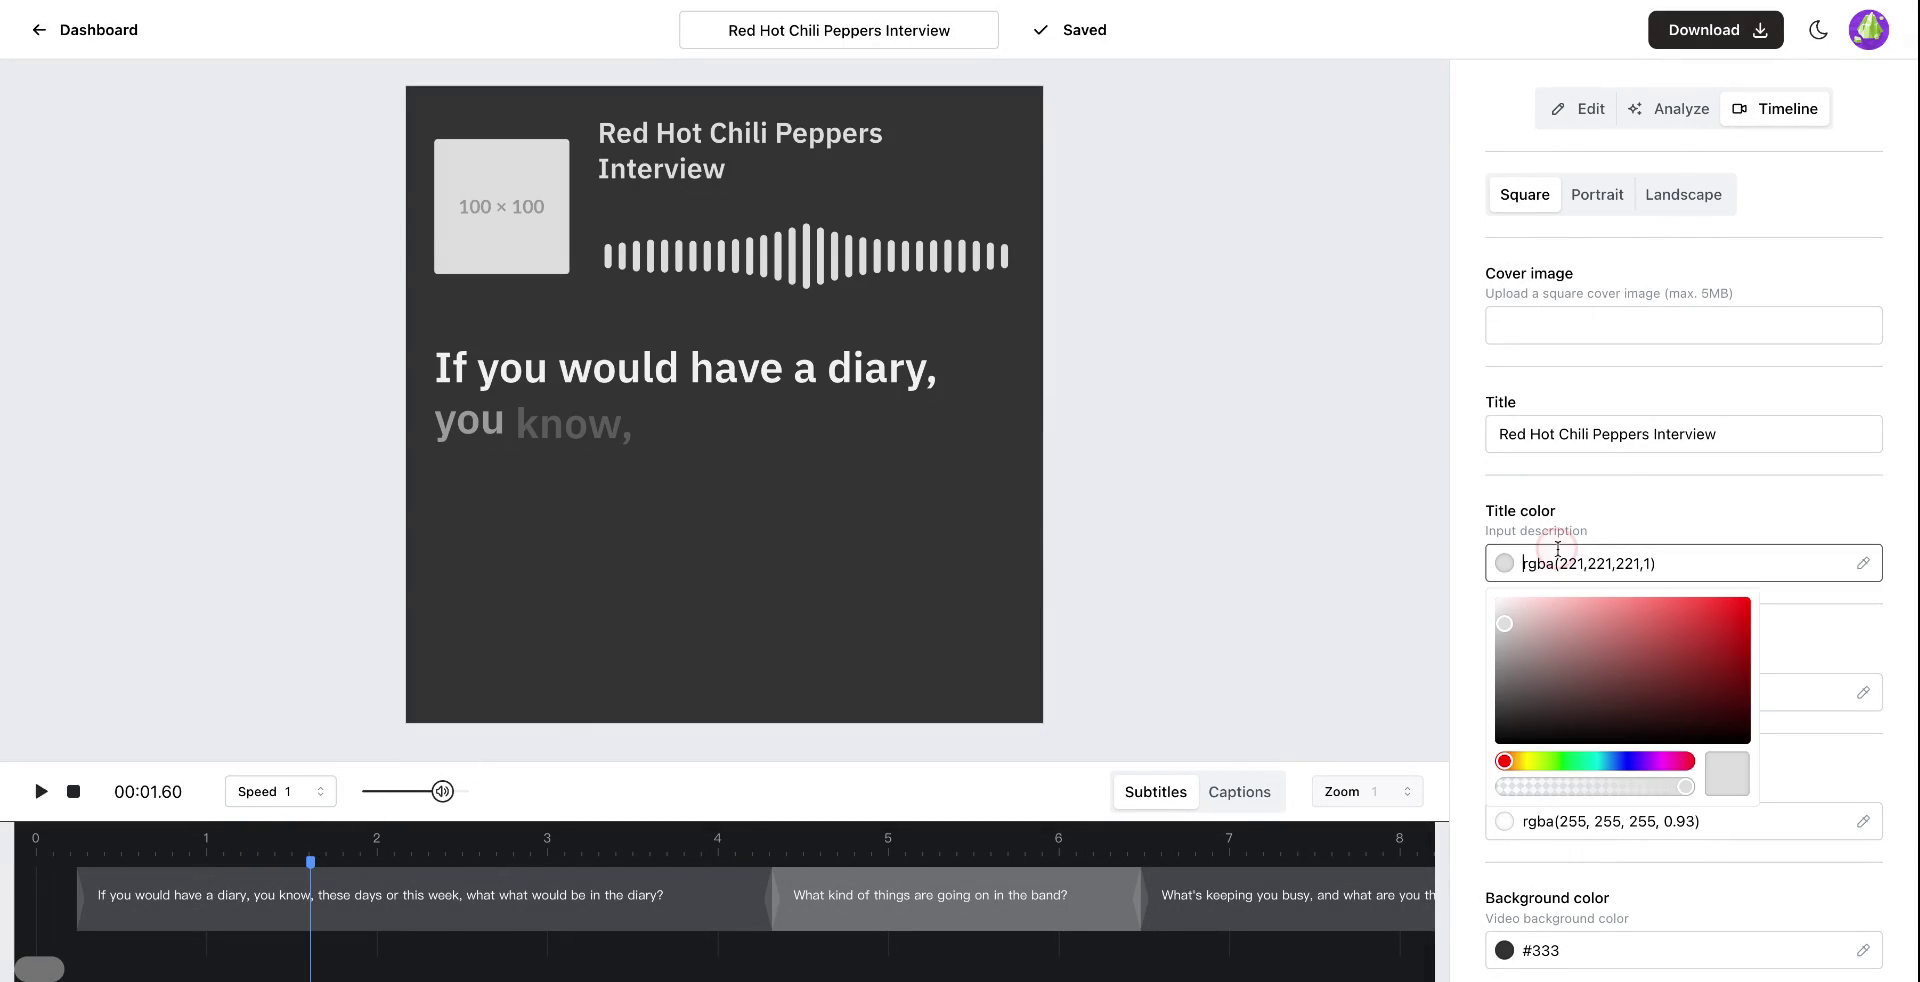 Step 23
Step 24
Upload an image to include in the video.
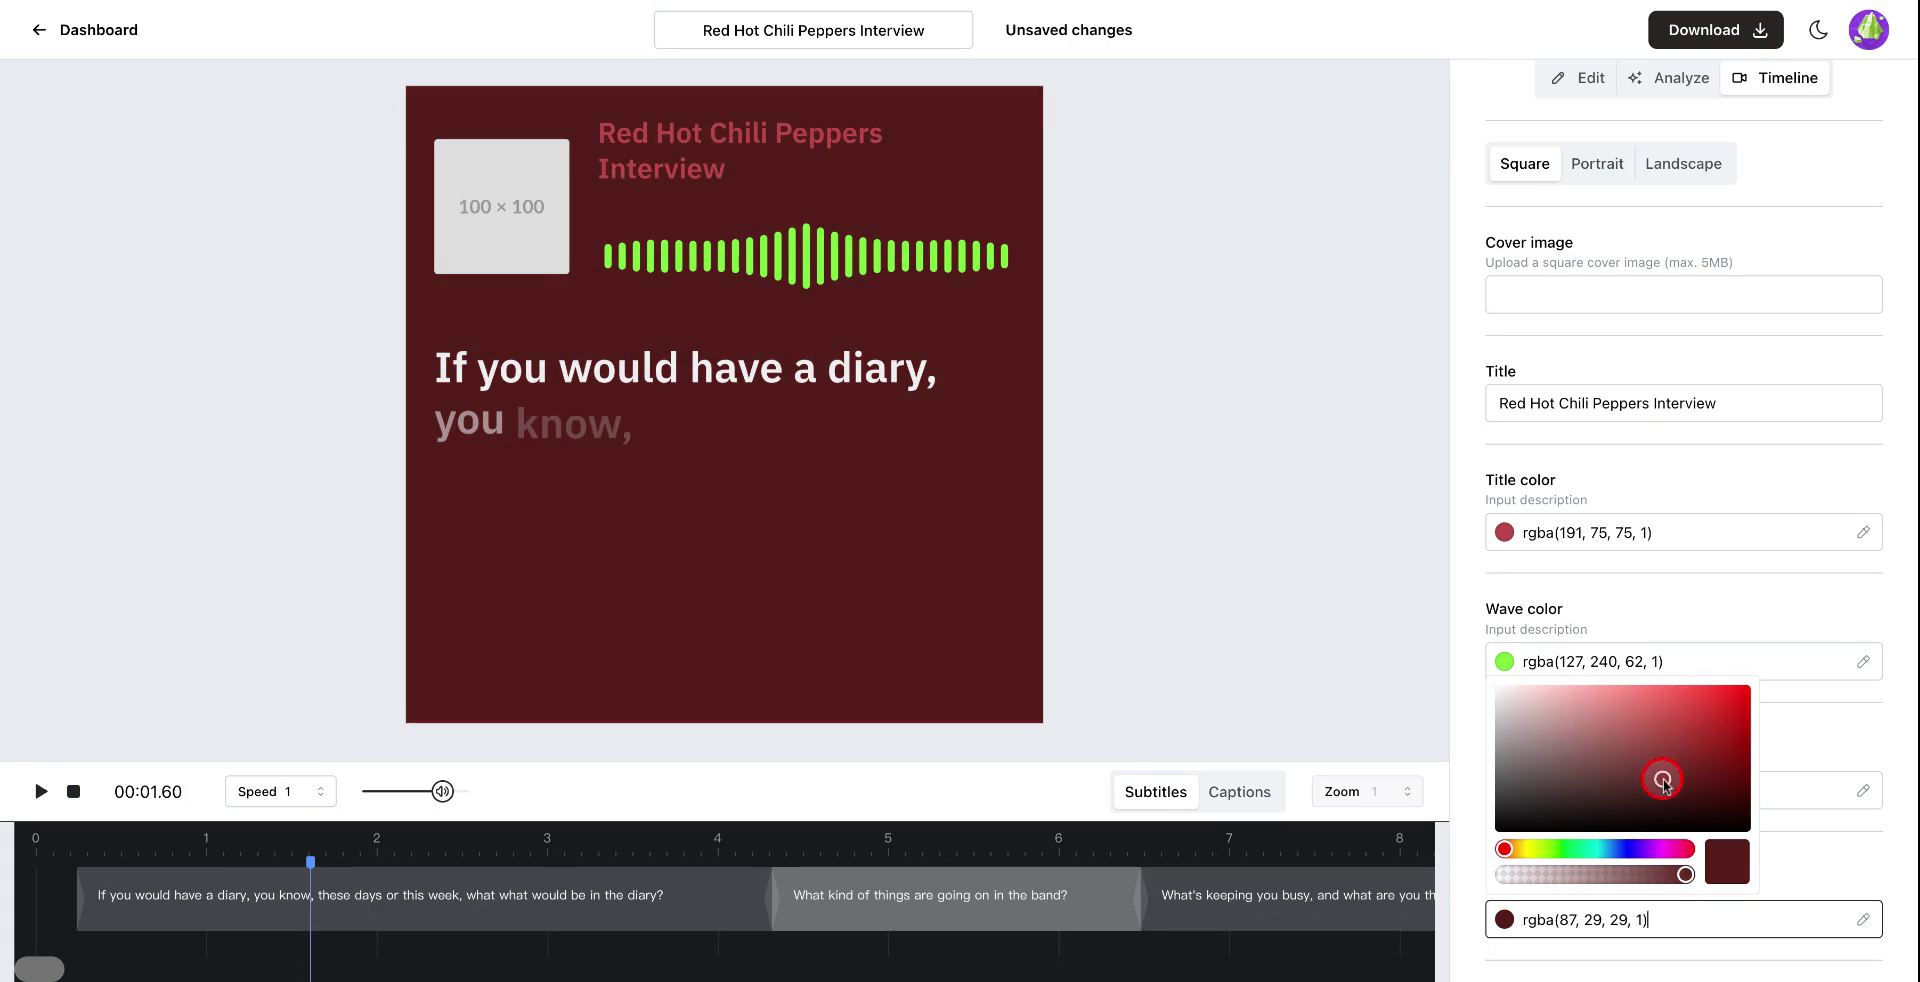 Step 24
Step 25
To add a cover image, click on the designated option and upload the desired image. Once the video is complete, export it in your preferred format.
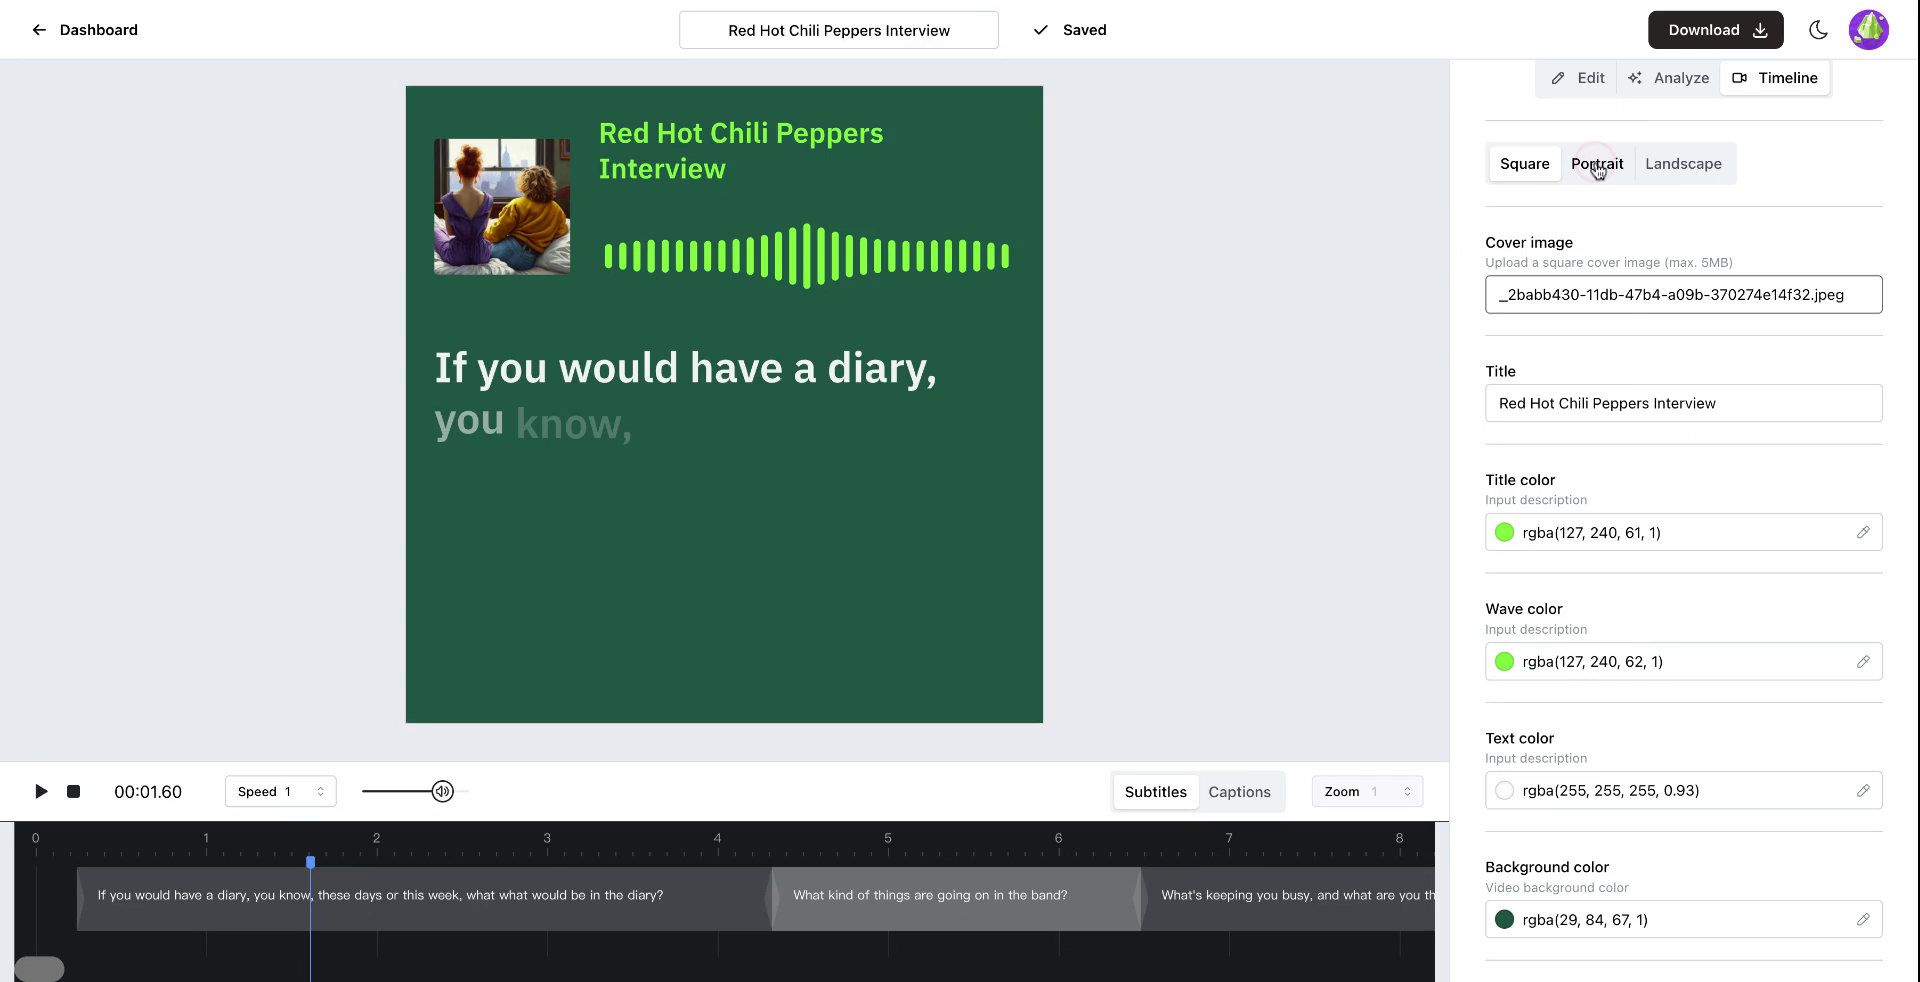 Step 25
Step 26
Select the desired video format, such as square, and proceed to download the video.
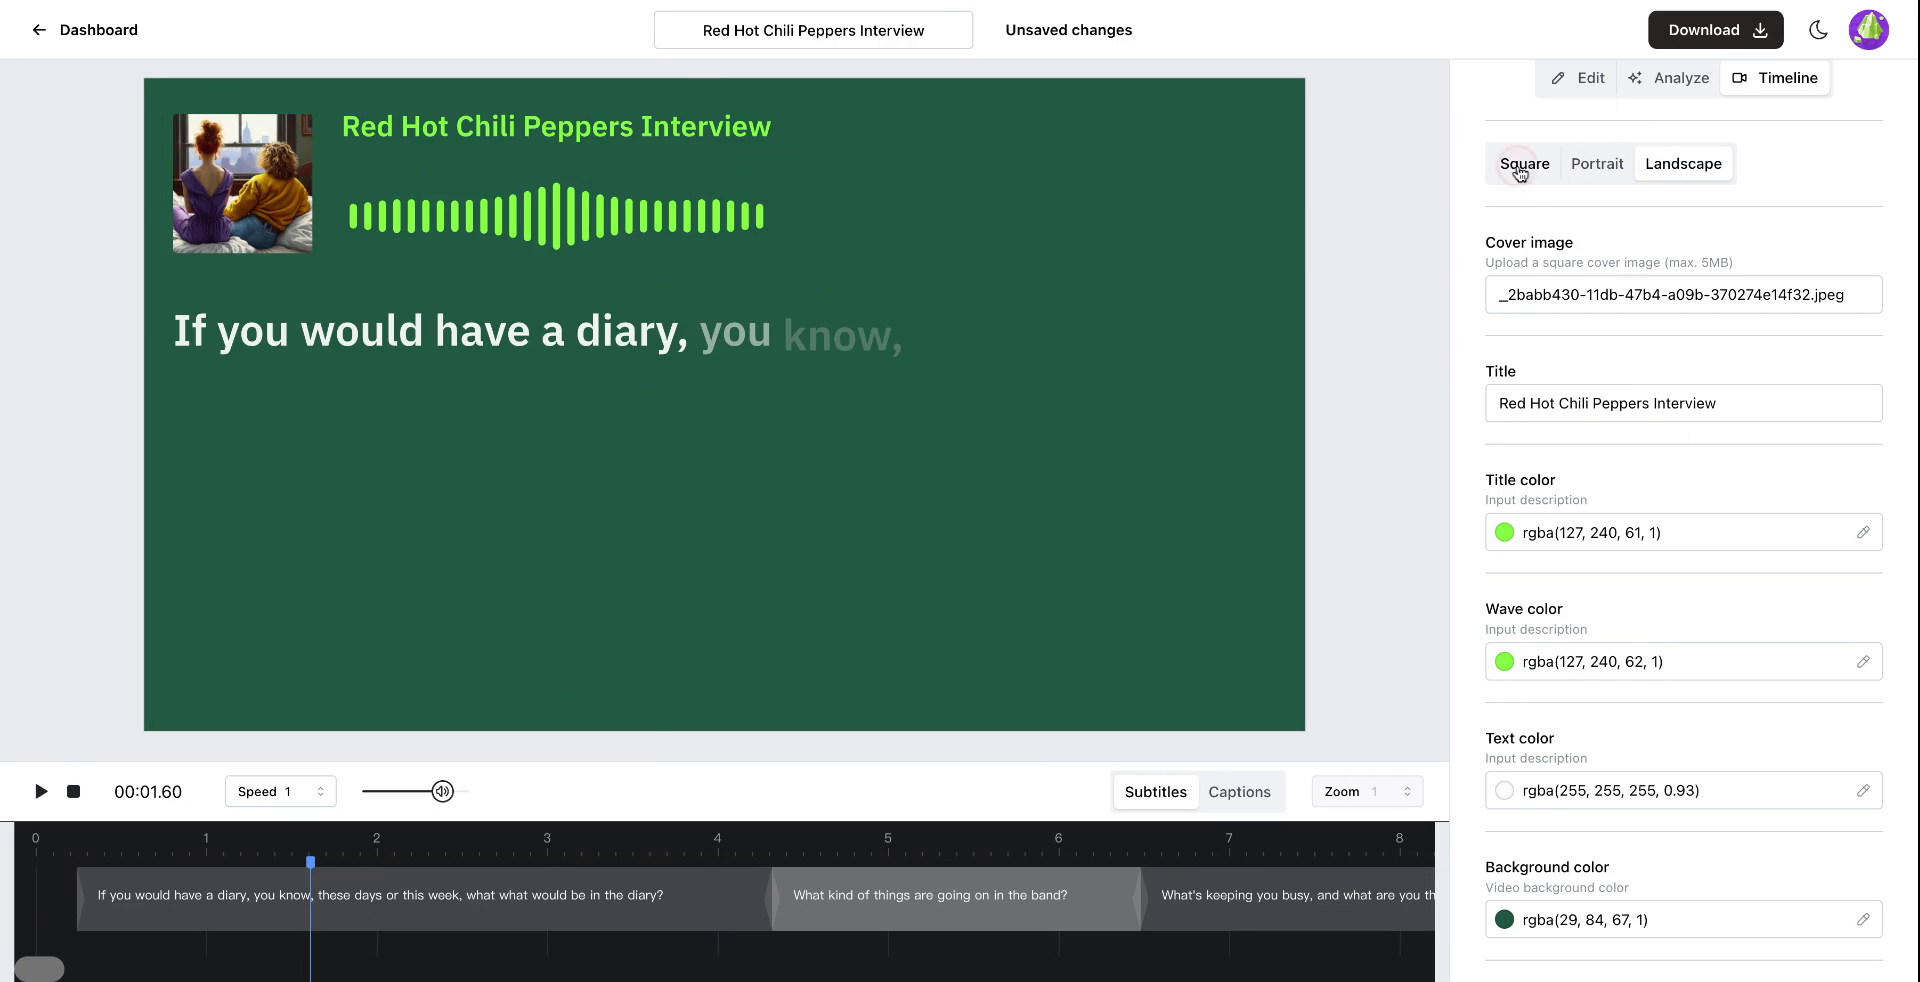 Step 26